


Key Takeaways
- Sewing a button on a pillow adds both functionality and decorative appeal to your home decor.
- Choosing the right button and thread ensures durability and enhances the overall aesthetic.
- A button closure pillow cover allows for easy removal and washing while keeping the pillow secure.
- Basic sewing skills are sufficient for this project, making it beginner-friendly and enjoyable.
- Proper placement and stitching techniques prevent buttons from coming loose over time.
Adding a button to a pillow is a simple yet effective way to elevate its look and functionality.
Whether you’re sewing a button for decorative purposes or as a secure closure for a pillow cover, this DIY project is beginner-friendly and rewarding.
A well-sewn button ensures longevity, preventing it from coming loose over time.
This guide will walk you through the process step by step, helping you create a polished and stylish pillow effortlessly.
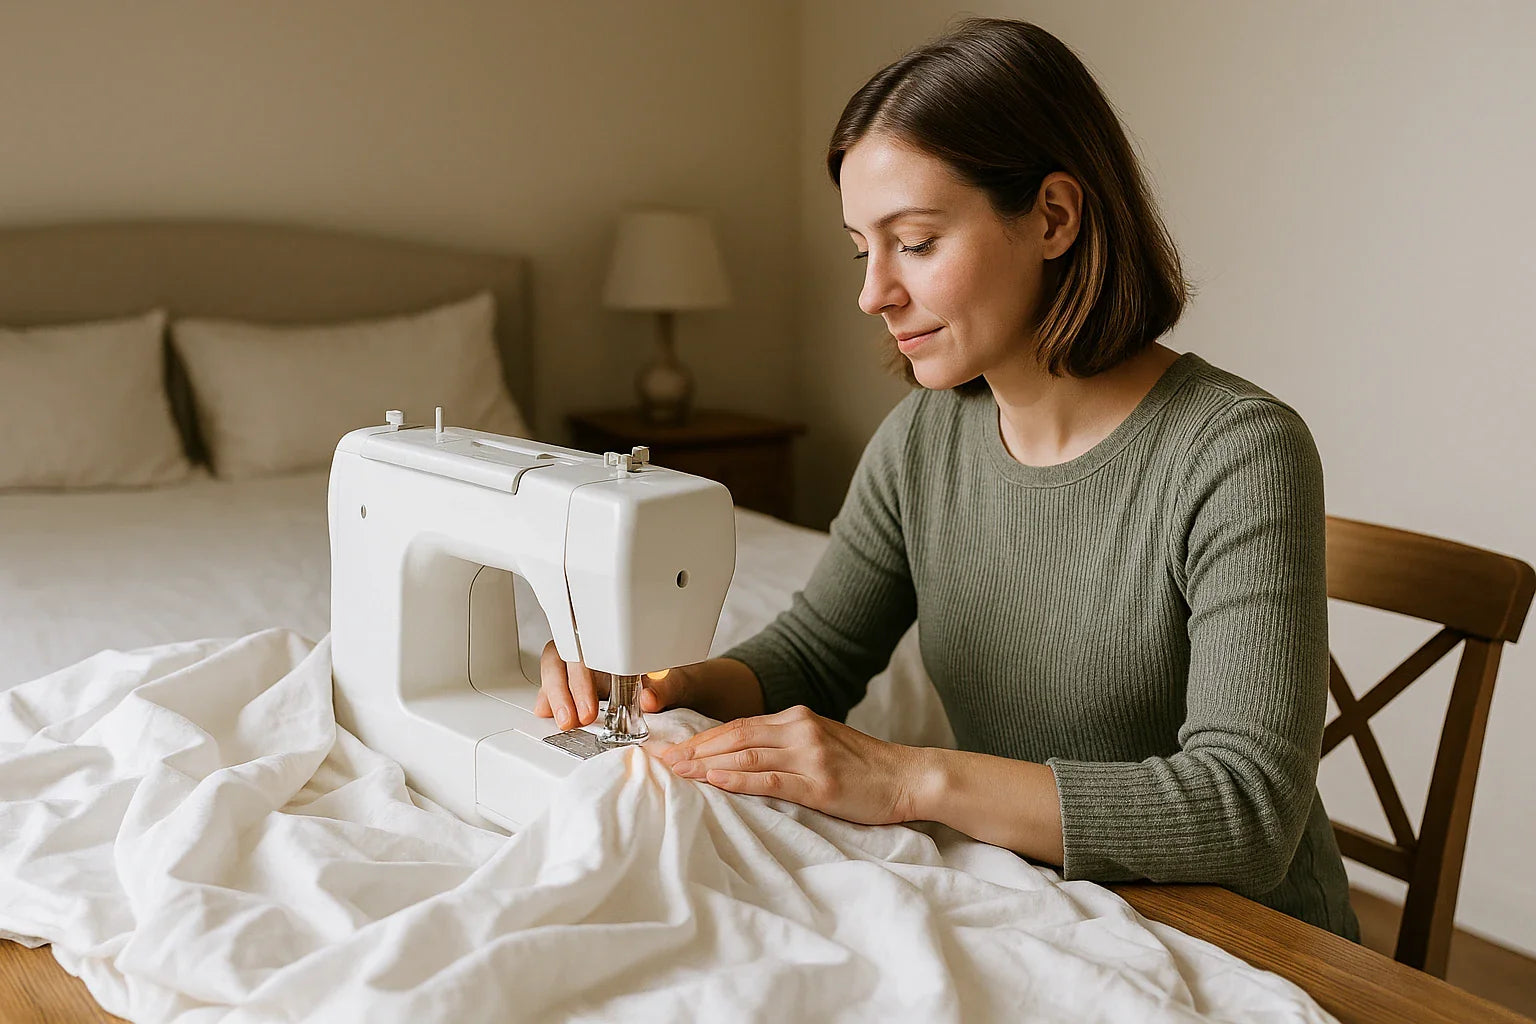
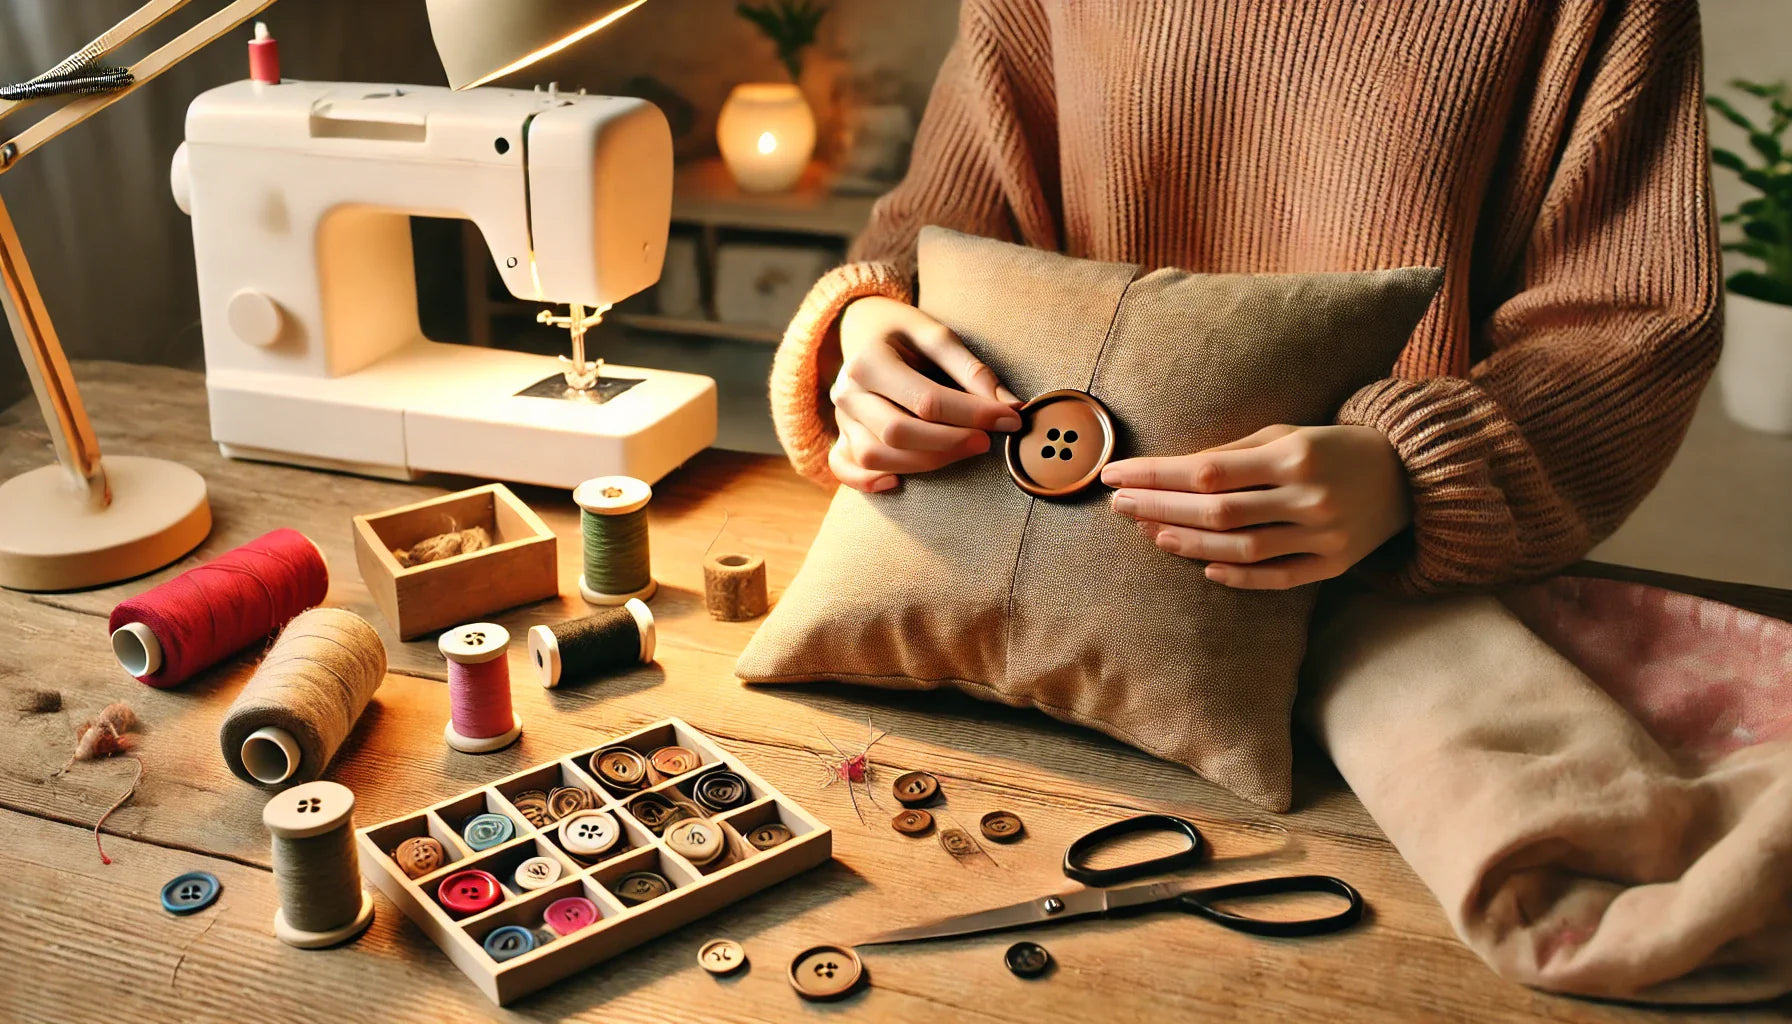
How to Sew a Button onto a Pillow
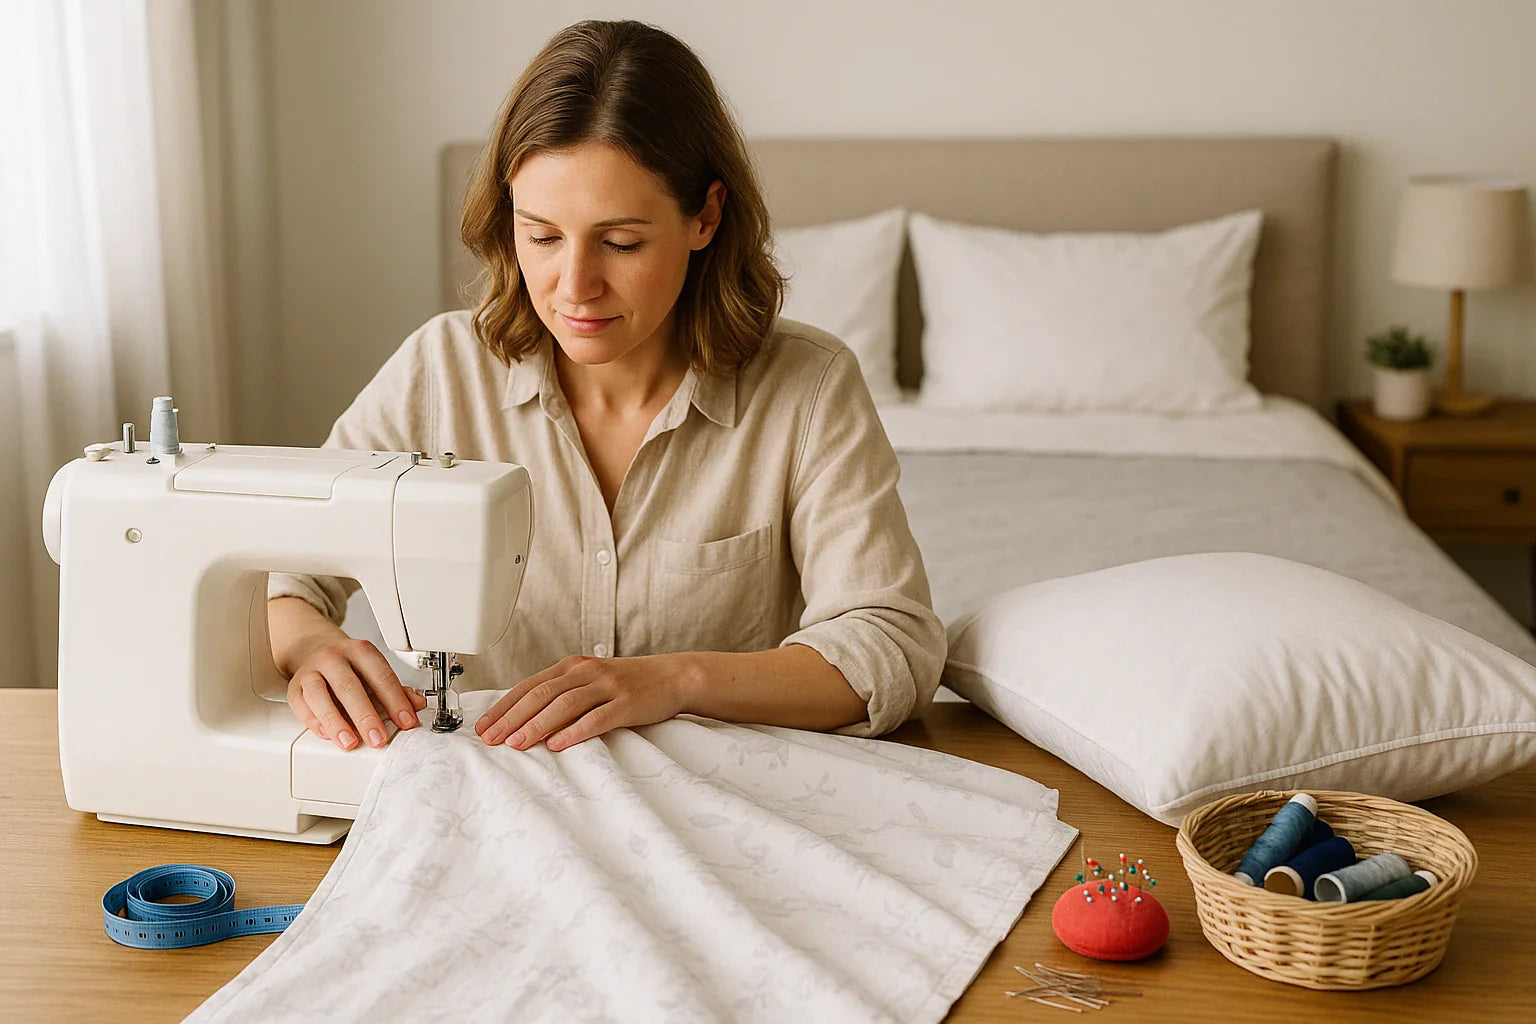
Sewing a button onto a pillow can be both practical and decorative. Here’s a step-by-step approach to help you do it neatly and securely.
Materials Needed:
-
A pillow or pillow cover
-
A button (wood, plastic, or fabric-covered)
-
Matching or contrasting thread (preferably heavy-duty for durability)
-
A sewing needle
-
Scissors
-
Fabric marker or chalk
-
Ruler or measuring tape
-
A thimble (optional for extra finger protection)
Step-by-Step Guide:
Step 1: Choose the Right Button and Thread
-
Select a button that complements your pillow’s design and fabric.
-
Opt for a thread color that blends in or adds contrast for a stylish touch.
-
Use a strong thread, such as polyester or upholstery thread, to ensure durability.
Step 2: Mark the Button Placement
-
Use a ruler or measuring tape to determine the ideal placement.
-
Mark the position with fabric chalk to ensure alignment.
-
If sewing multiple buttons, maintain even spacing for a symmetrical look.
Step 3: Thread the Needle and Secure the Knot
-
Cut about 18 inches of thread and thread it through the needle.
-
Double-thread the needle for extra strength and tie a secure knot at the end.
Step 4: Sew the Button Onto the Pillow
-
Insert the needle from the back of the fabric, pulling it through to the marked position.
-
Thread the needle through one hole of the button and then through the opposite hole (for two-hole buttons) or through the next hole (for four-hole buttons).
-
Repeat this process 5-7 times to reinforce the attachment.
-
For shank buttons, loop the thread around the shank for added strength before tying it off.
Step 5: Secure the Thread and Finish the Stitching
-
On the backside of the fabric, tie a small knot and pass the needle through the fabric one last time before trimming the excess thread.
-
Ensure the button is firmly attached but not too tight, allowing room for slight movement.
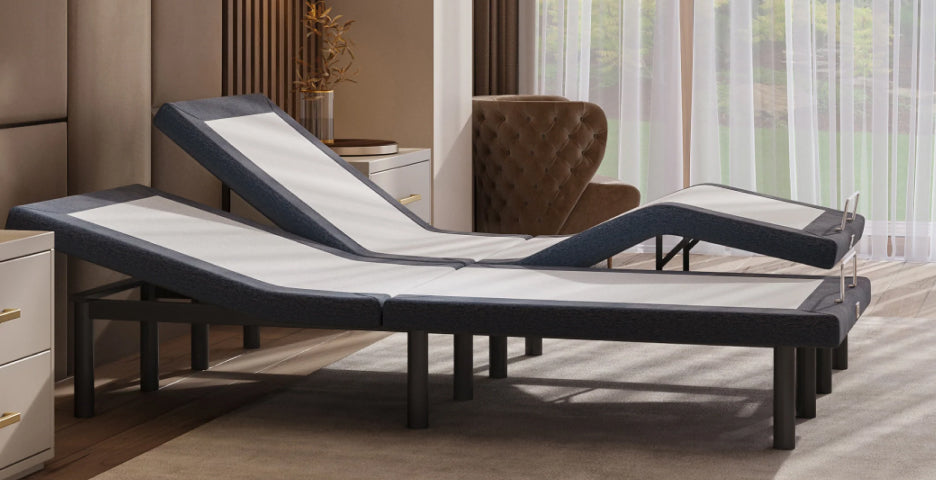
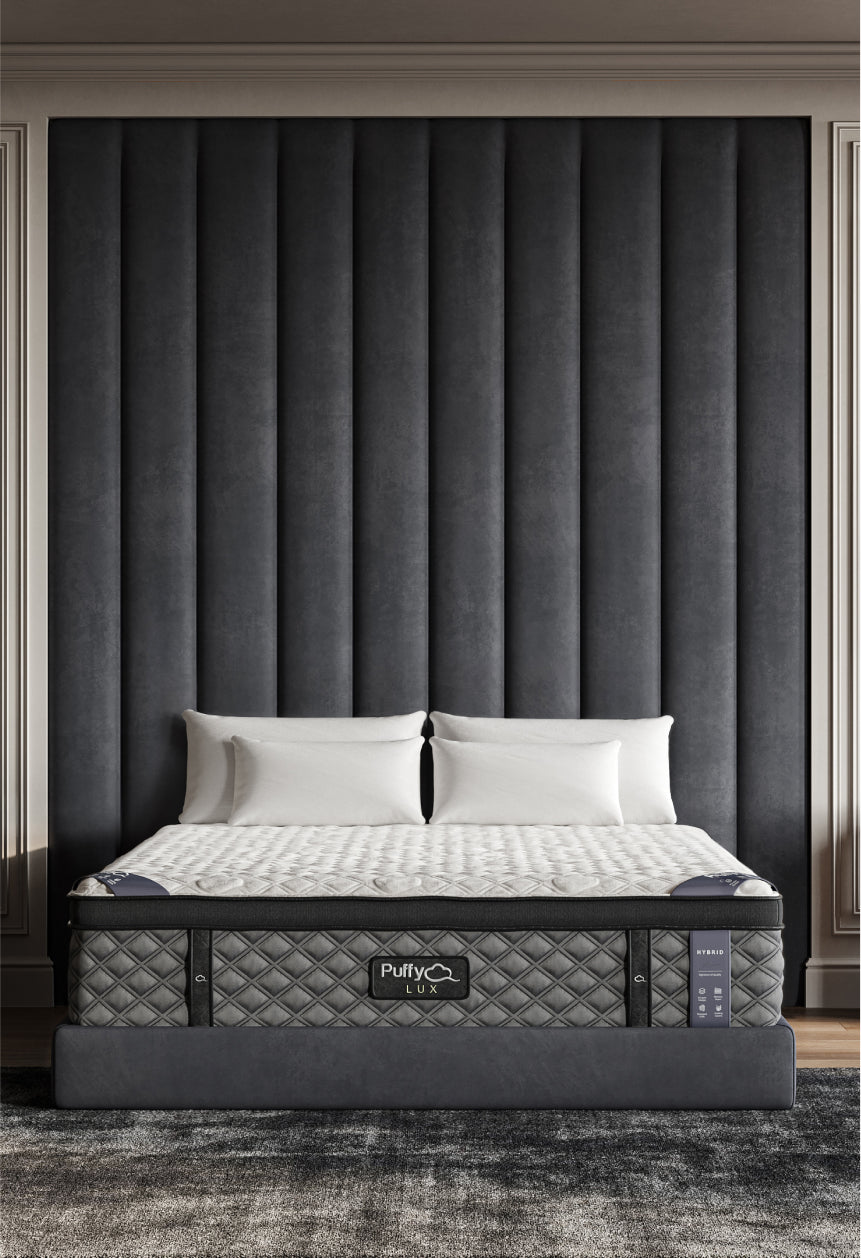
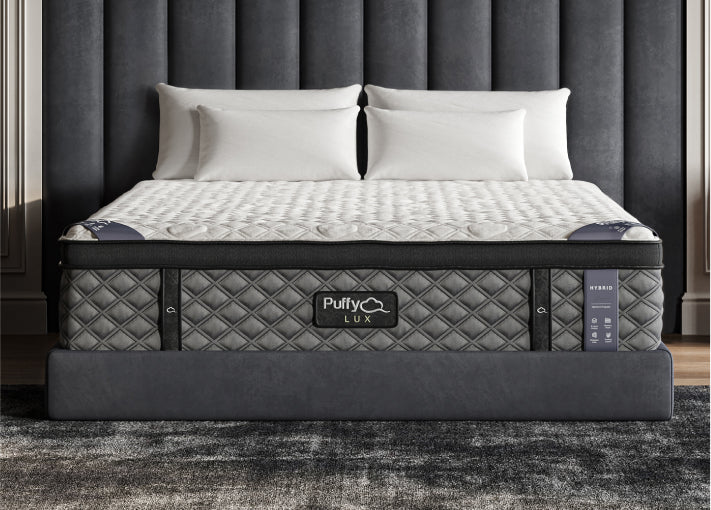
A Puffy Lux Mattress pairs beautifully with custom pillow decor, helping create a cozy and stylish bedroom ambiance.
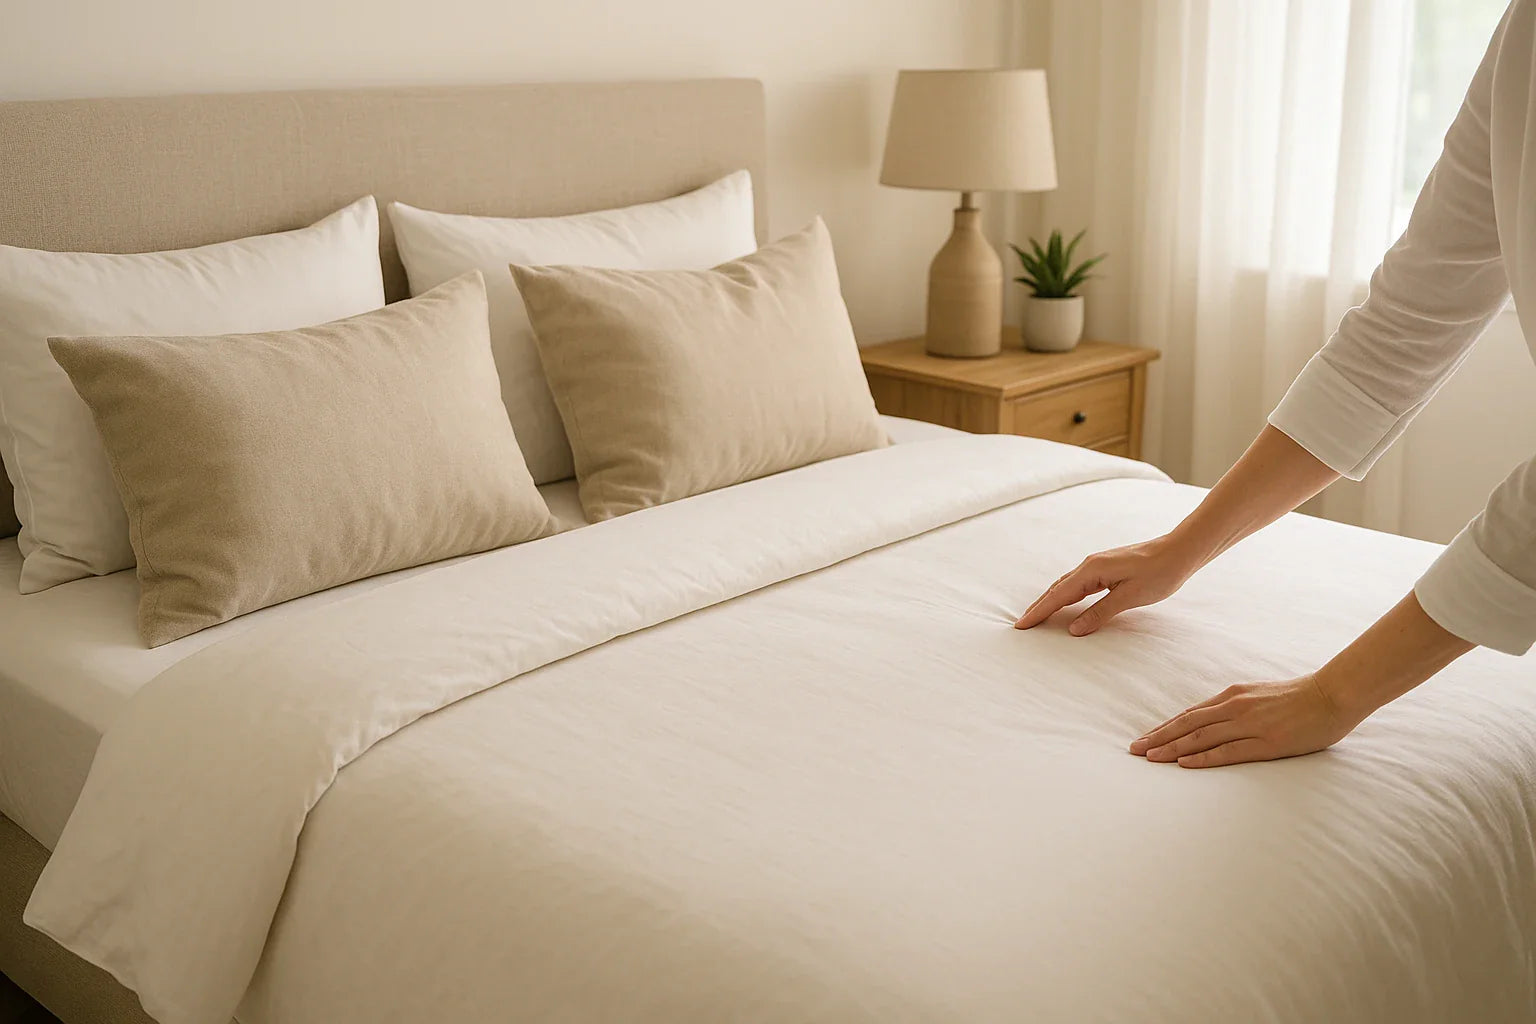
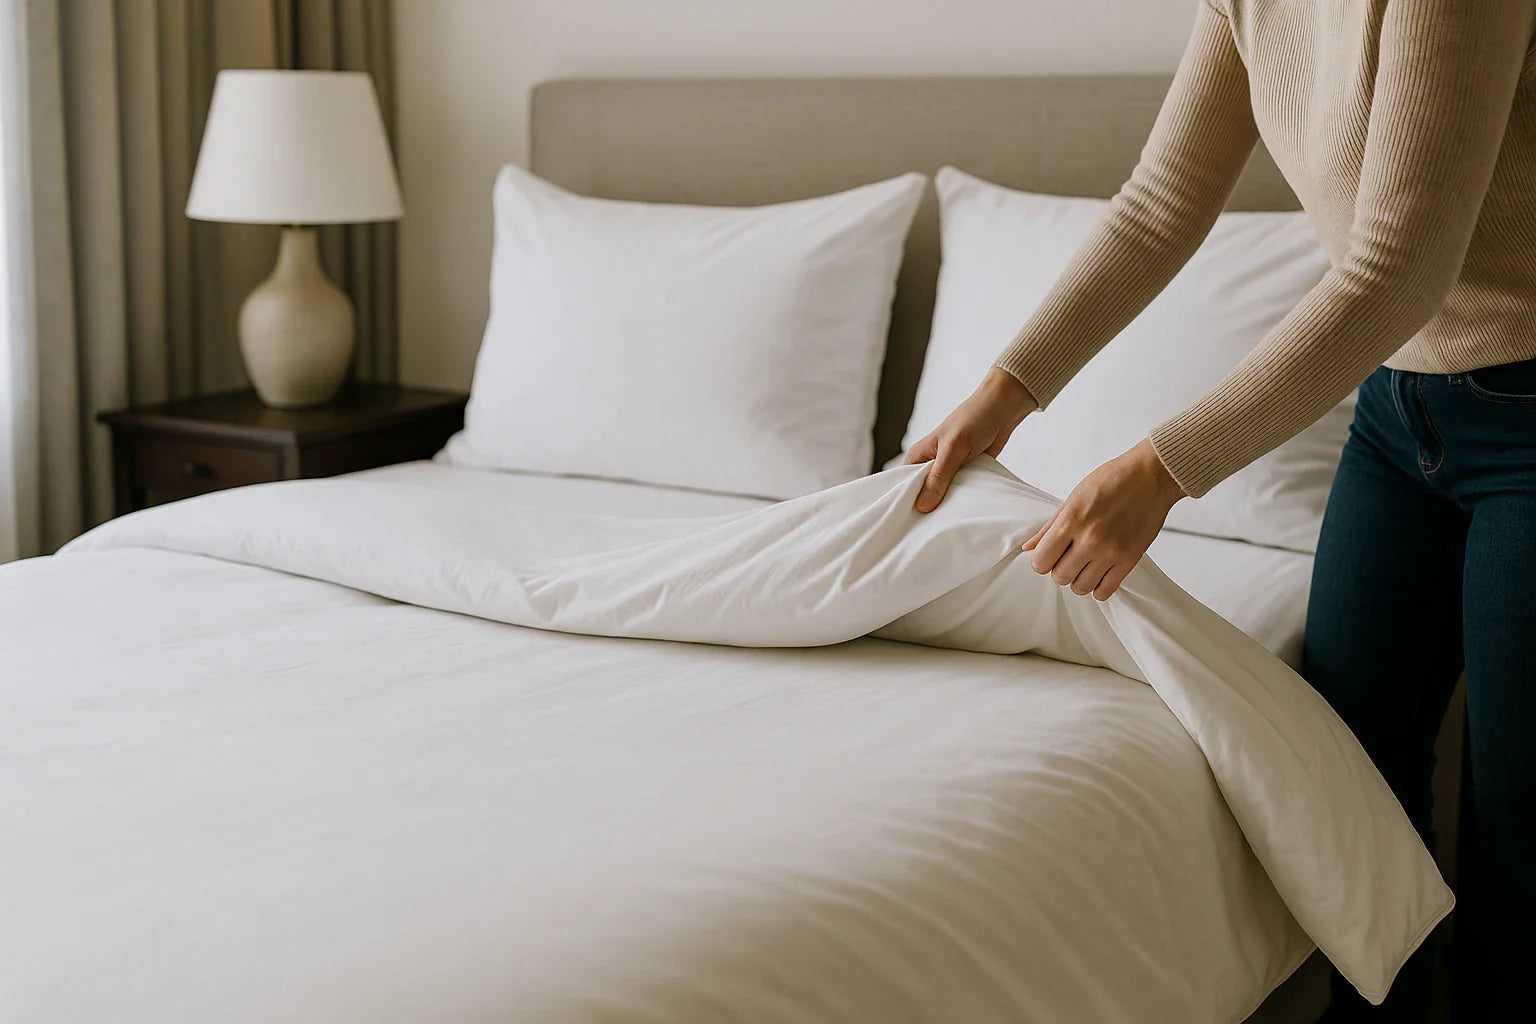
How to Make a Pillow Cover with Button Closure
If you’re looking for an easy way to remove and clean pillow covers, adding a button closure is a great solution.
Materials Needed:
-
Pillow fabric (cotton, linen, or any upholstery fabric)
-
Buttons (size based on preference)
-
Thread and needle or sewing machine
-
Scissors and pins
-
Ruler or measuring tape
-
Fabric marker
Step-by-Step Guide:
Step 1: Cut and Prepare the Fabric
-
Measure and cut two fabric pieces for the pillow cover, adding a 1-inch seam allowance on all sides.
-
If making an envelope-style pillow cover, add an extra 3-4 inches for the button flap.
Step 2: Hem the Button Flap
-
Fold and press the flap’s edge to create a clean hem.
-
Sew along the folded edge to secure the hem.
Step 3: Sew the Pillow Cover Pieces Together
-
Place the fabric pieces right sides together and pin them in place.
-
Sew along three sides, leaving the button flap open.
-
Turn the cover inside out and press the seams flat.
Step 4: Mark and Sew the Buttonholes
-
Measure and mark the placement of the buttonholes.
-
Use a sewing machine’s buttonhole setting or hand-sew small slits reinforced with tight stitching.
Step 5: Attach the Buttons
-
Align the buttons with the buttonholes and sew them onto the fabric securely.
-
Ensure they are evenly spaced for a uniform closure.
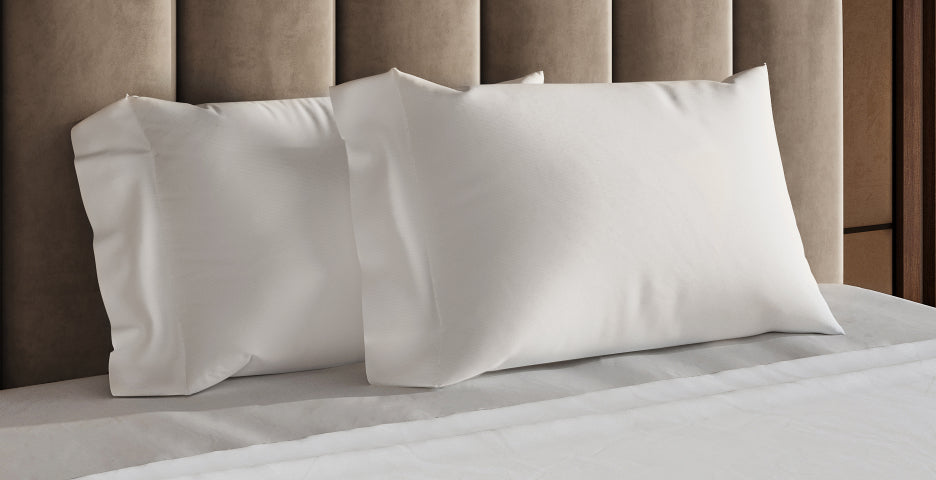
A Puffy Royal Mattress enhances relaxation, making every cozy pillow arrangement feel even more luxurious and inviting.
Tips for Sewing Buttons on a Pillow
-
Use a double-threaded needle for added durability.
-
Reinforce buttons by looping the thread around the stitches underneath before tying off.
-
Choose larger buttons for an accent design or smaller ones for a subtle, minimalist look.
-
Ensure button spacing is even to maintain a polished and symmetrical appearance.
-
For decorative pillows, mix and match button styles to add a unique design element.
-
Use interfacing on the fabric backing if the material is thin to provide extra support.
-
If sewing multiple buttons, sew them in a grid pattern for a uniform and tailored look.
-
Consider decorative stitching around the buttonholes to enhance durability and add a stylish touch.
Common Mistakes to Avoid
-
Sewing the button too tightly: This can strain the fabric, making it prone to tearing over time and reducing the overall flexibility of the pillow.
-
Using weak thread: Opt for strong, upholstery-weight thread to prevent fraying and ensure long-term durability, especially for frequently used pillows.
-
Skipping reinforcement stitches: This can result in buttons that loosen over time, leading to detachment after repeated handling or washing.
-
Not aligning buttonholes properly: Always measure and test before sewing buttonholes to ensure proper placement, as misalignment can make fastening difficult and uneven.
-
Choosing buttons that are too small or too large: A button that is too small may not secure the closure effectively, while a large button may create unnecessary bulk or pull on the fabric, affecting the pillow’s overall structure and aesthetic.
Final Thoughts
Sewing a button on a pillow is a simple yet impactful way to upgrade your home decor.
Whether for aesthetics or functionality, a well-sewn button ensures long-lasting durability while adding a charming touch to your space.
With just a few tools and basic sewing skills, you can create stylish, buttoned pillows that complement any setting.

![]() $1,350 in savings
$1,350 in savings
Transform your comfort with the Puffy Lux.
Relax into award-winning comfort with this hybrid mattress:
- 8 layers of cloudlike luxury.
- Medium-plush feel.
- Gel-infused cooling.
- 101-night sleep trial.