


Key Takeaways
- Learn how to make a duvet cover with sewing and no-sew methods to suit your skill level and time.
- Explore DIY duvet cover ideas that are budget-friendly and customizable.
- Discover closure options like buttons, ties, and zippers with step-by-step instructions.
- Understand how DIY covers can refresh your bedding without breaking the bank.
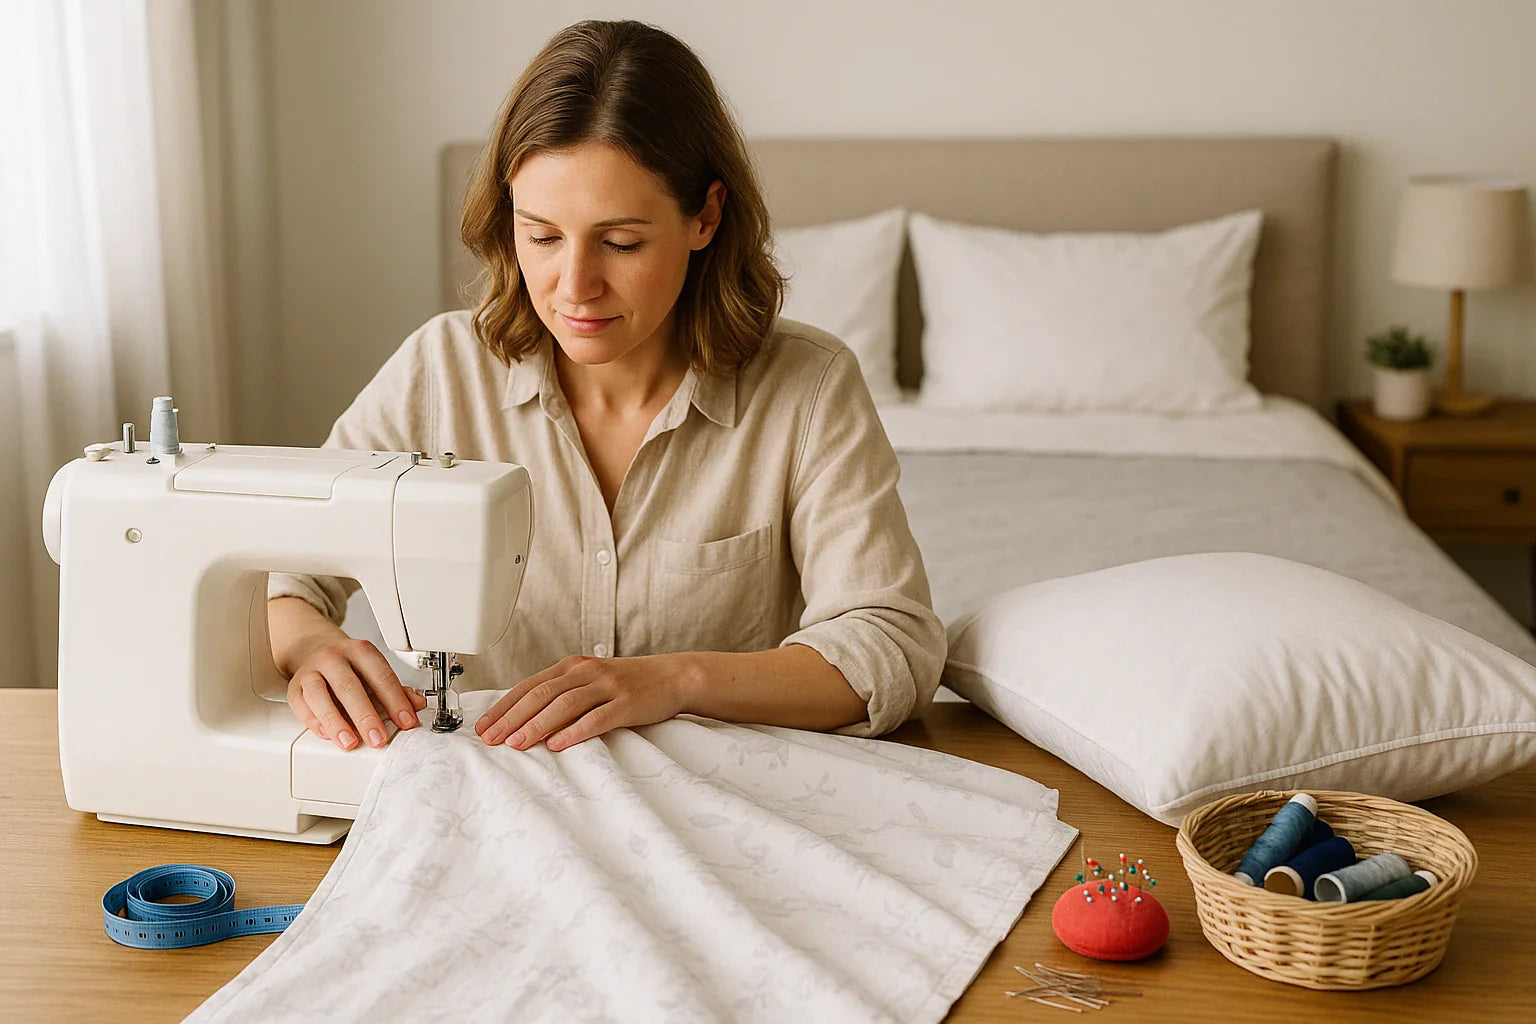
Making your own duvet cover at home is one of those surprisingly satisfying projects. Not only does it let you customize your bedroom exactly how you like it, but it also saves money and breathes new life into your bedding setup.
Whether you want to repurpose spare sheets or create a statement piece from scratch, this guide covers everything you need to know—from basic steps to the fun add-ons.
Plus, if you’ve ever had kids or pets leave unexpected messes, being able to swap and wash covers quickly is a game-changer.
DIY Duvet Cover
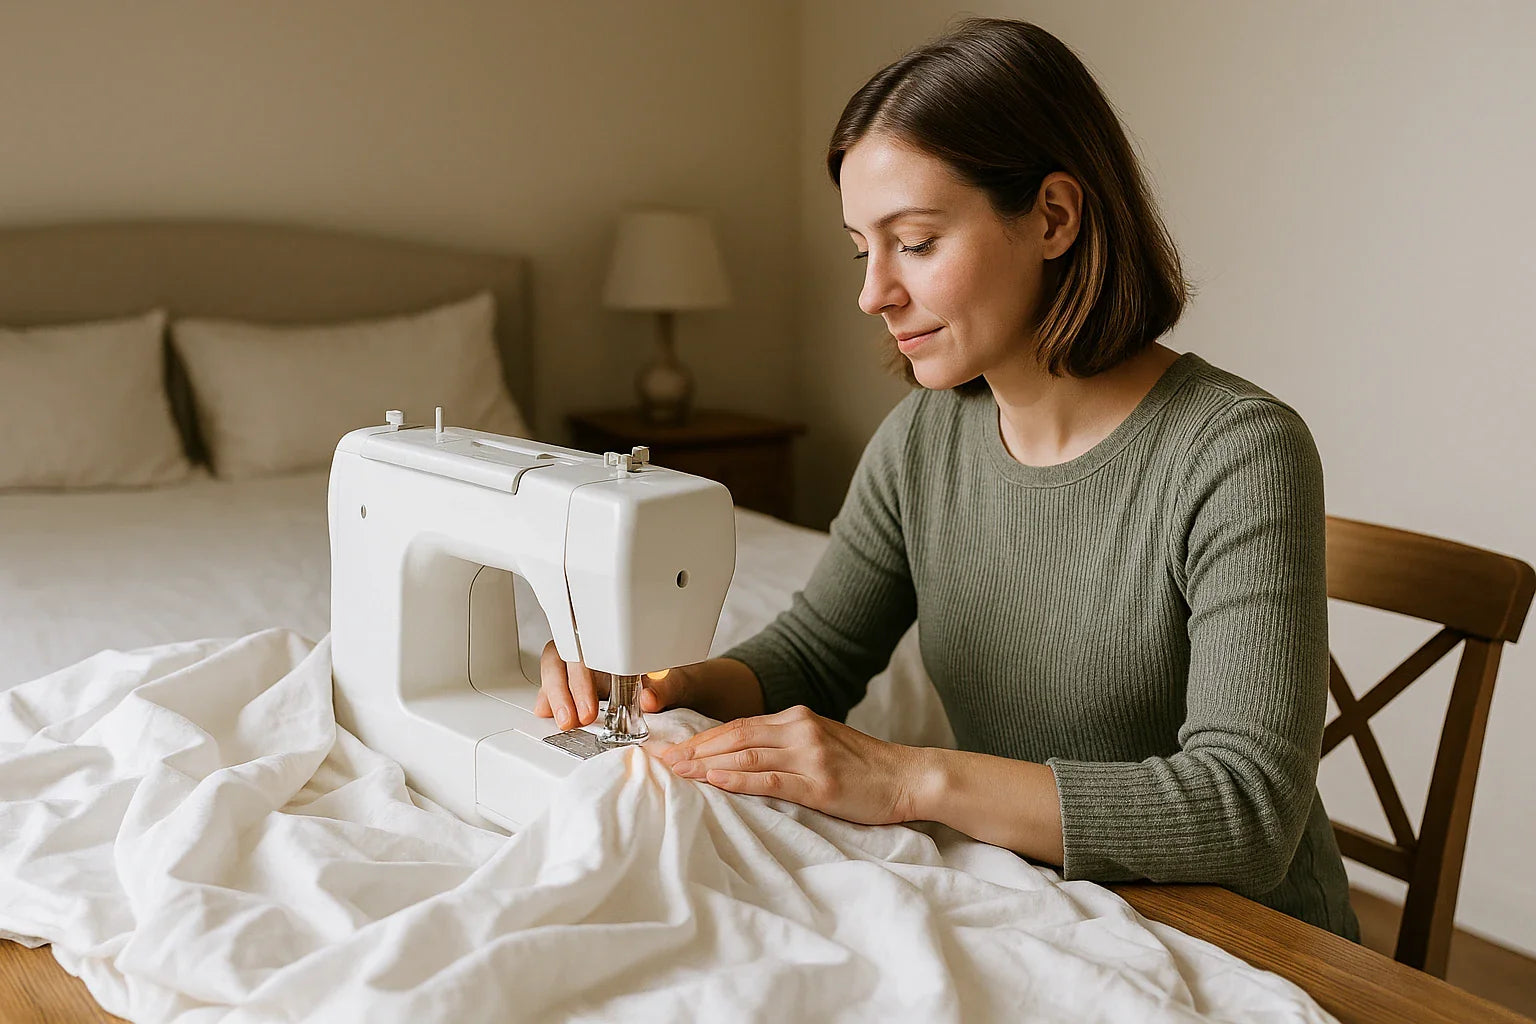
Creating your own duvet cover is easier than you might think. Here’s a simple approach to making one with a sewing machine.
Materials Needed:
-
Two flat sheets (or similar fabric)
-
Matching thread
-
Sewing machine
-
Pins or clips
-
Fabric scissors
-
Measuring tape
-
Closure hardware: buttons, snaps, ties, or zipper
Step-by-Step Instructions:
-
Measure your duvet insert and add 1.5 inches to each side for seam allowance. This gives you enough room for seams while keeping the cover snug and well-fitted.
-
Cut your fabric to the adjusted dimensions. Use sharp fabric scissors for clean edges—precision here helps make final assembly neater.
-
Pin the sheets together with the right sides facing in. Pin along all edges to avoid slippage as you sew.
-
Sew around the edges, leaving one end open for inserting the duvet. Use a straight stitch, and reinforce the corners with backstitching for added strength.
-
Add your preferred closure—buttons, ties, or a zipper. Choose a closure that matches your skill level and complements your bedroom’s style. Be sure to attach securely so it withstands regular use and washing.
-
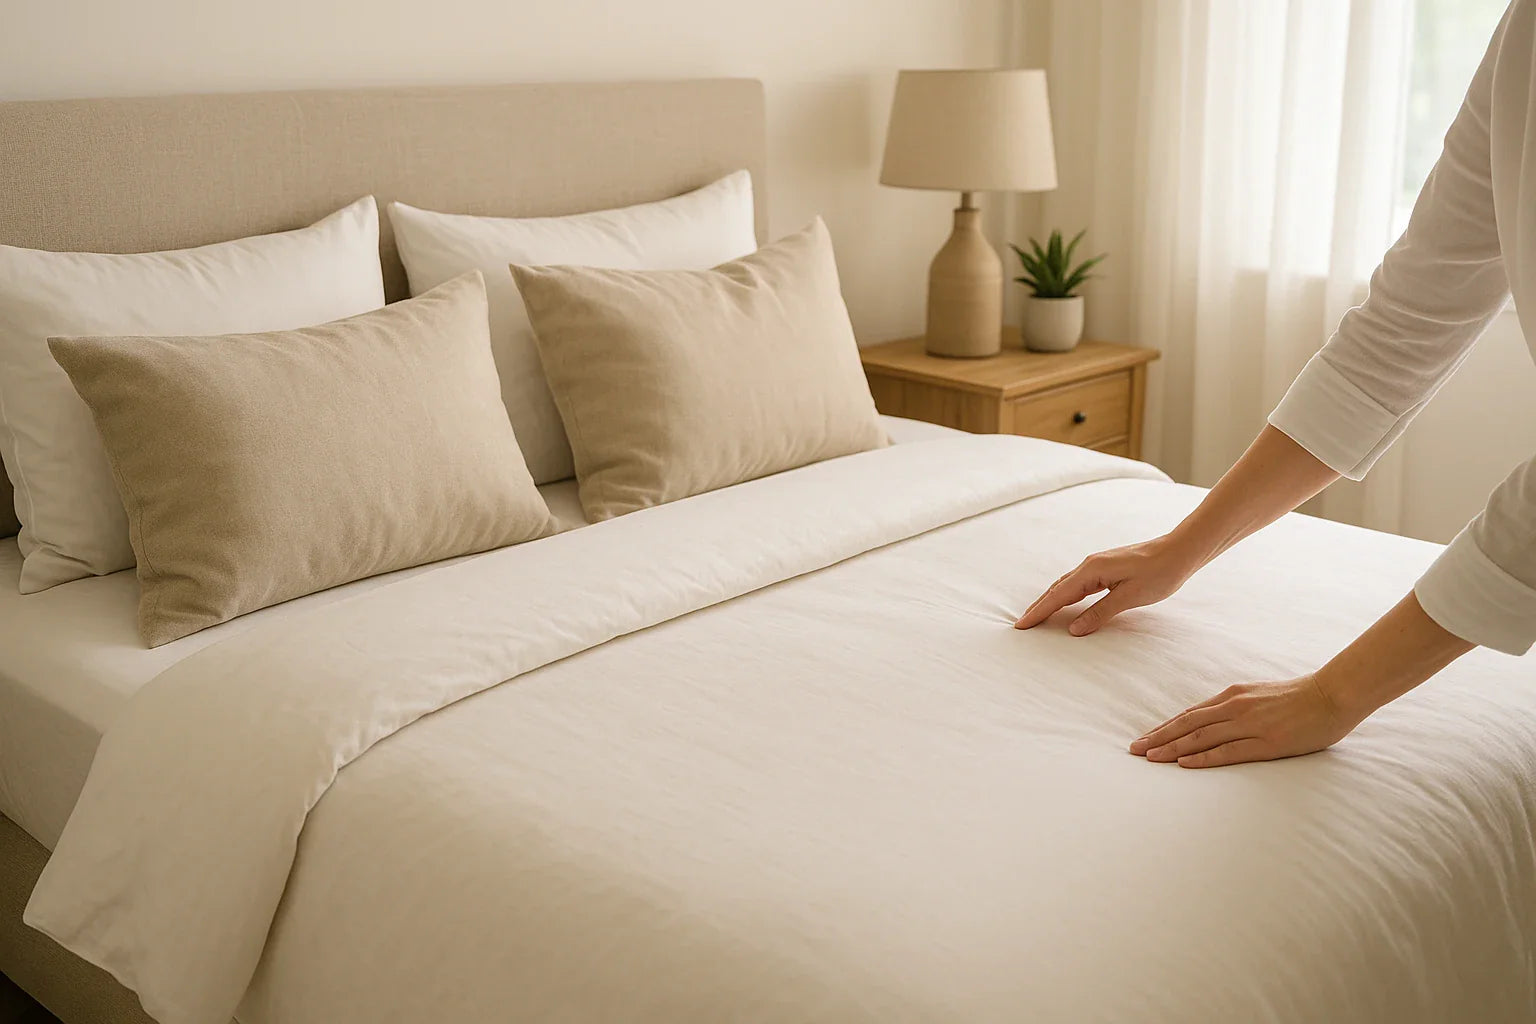
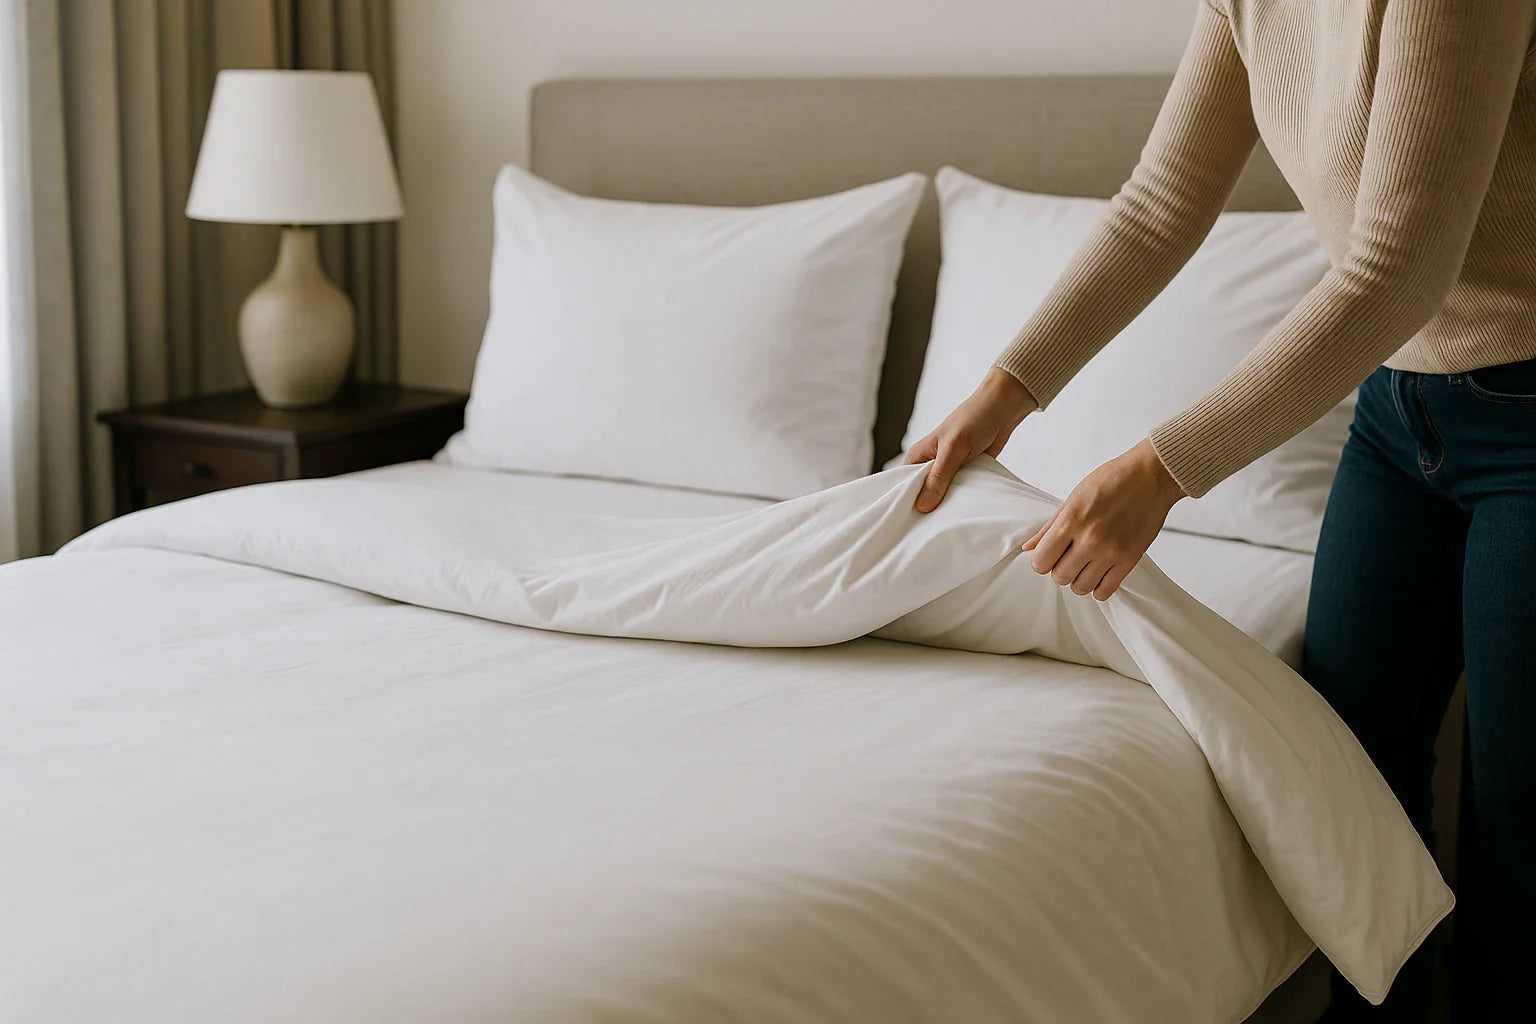
Flip the cover right-side out and insert the duvet. Shake it out evenly and adjust the corners for a polished look. Finish by smoothing out the fabric and fluffing the duvet for an inviting finish.
Pairing your DIY duvet cover with a Puffy Cloud Mattress creates a comfort combo that’s as good for cozy family movie nights as it is for deep, restorative sleep.
DIY Duvet Cover No Sew
Don’t have a sewing machine? No worries. A no-sew duvet cover is totally doable using some clever hacks.
What You’ll Need:
-
Two flat sheets
-
Fabric tape or iron-on hem tape
-
Iron
-
Scissors
-
Velcro strips or ribbon ties
How to Make It:
-
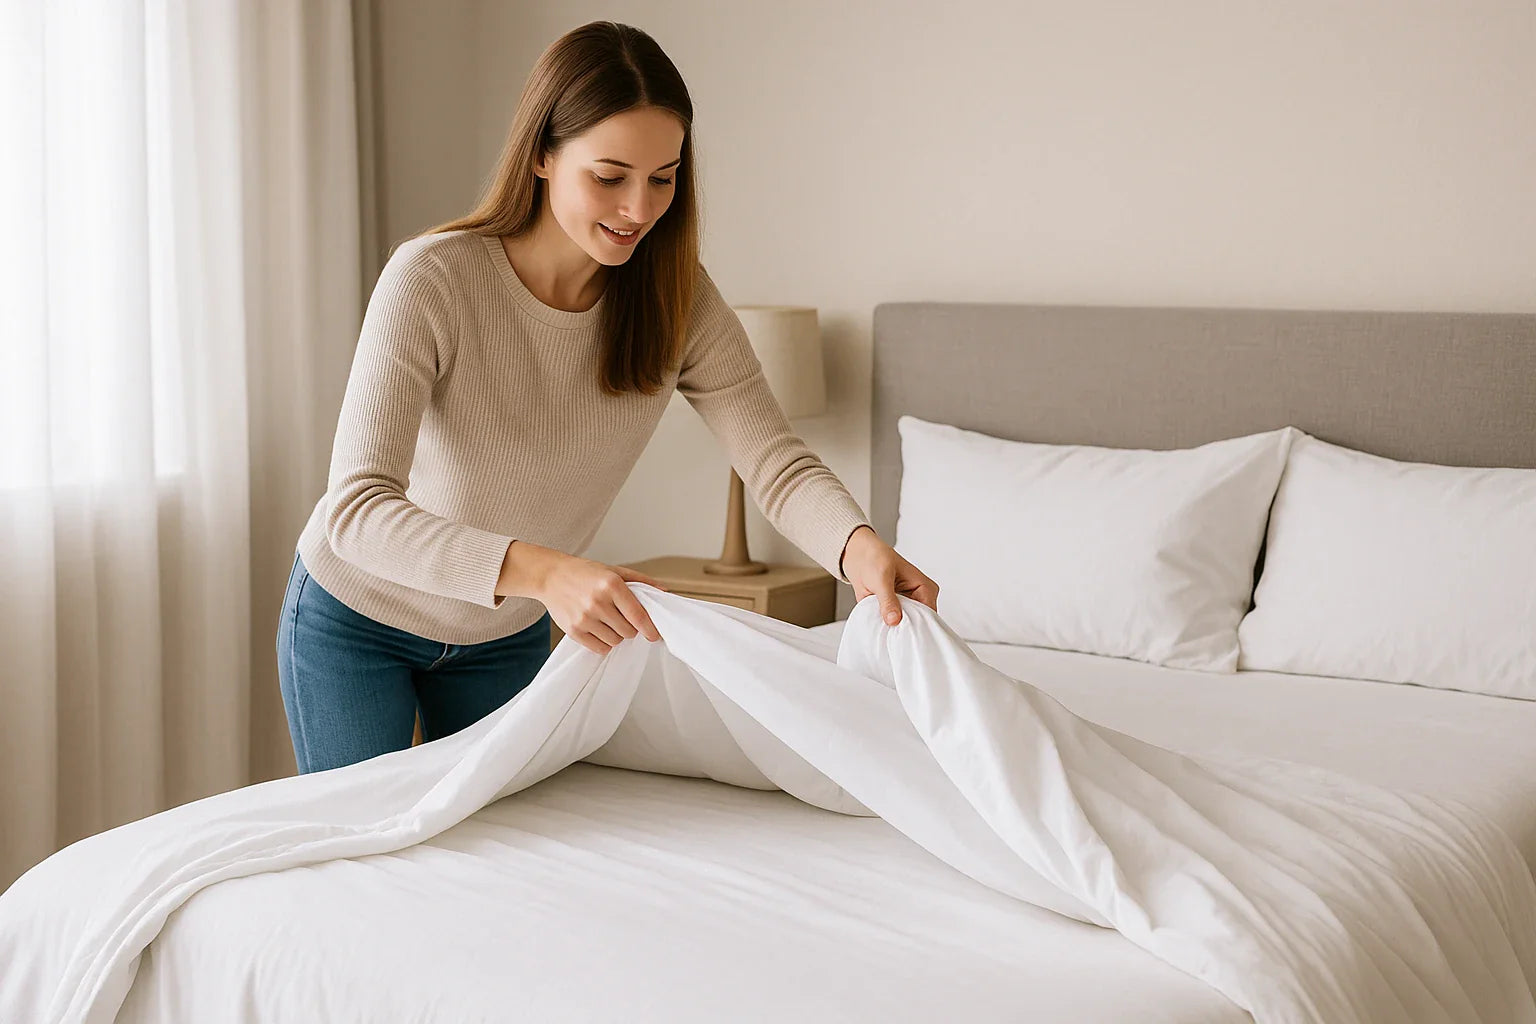
Lay one sheet flat and place the other on top, right sides facing out. Smooth out any wrinkles to ensure even bonding and a neat finish.
-
Use fabric tape around three edges to bond the layers. Press firmly along the edges, working in small sections to keep alignment tight and even.
-
Leave one end open, and attach Velcro strips or ties for closure. This makes it easy to remove and wash the cover when needed.
-
Iron the seams to secure the bond. Apply heat steadily along the tape lines to activate the adhesive fully and give a crisp, clean look.
-
Add a few decorative stitches or accents if desired. While optional, they can add a personal touch that elevates the look of your cover.
This approach works well for guest rooms, temporary setups, or when you want to change designs with the seasons.
How to Make a Duvet Cover with Buttons
Buttons add charm and functionality. Here’s how to incorporate them into your DIY project.
Instructions:
-
After sewing three edges, fold the open end in 1 inch and iron. This helps create a clean, crisp edge and makes it easier to align the buttonholes and buttons accurately.
-
Evenly space buttonholes along one flap and stitch them. Use a measuring tape or ruler to maintain consistent spacing and keep the appearance polished.
-
Sew matching buttons on the opposite flap. Choose sturdy buttons that can withstand repeated use and secure them tightly so they stay in place through washes and daily wear.
Tip: Use decorative buttons to add a visual accent that complements your room theme.
How to Make a Duvet Cover with Ties
Ties are both stylish and easy to replace.
Instructions:
-
Cut 12–14” long strips of ribbon or bias tape. Choose a sturdy material that matches or complements your duvet fabric for a cohesive look.
-
Sew them onto the inside corners to secure the insert. Reinforce the stitching with backstitching to ensure the ties hold up through repeated use and washing.
-
Add ties every few inches across the open edge to fasten the cover closed. Space them evenly for a balanced finish, and double-knot when tying for extra hold throughout the night.
Bonus: Interior corner ties help the insert stay put—no more bunching or shifting during the night.
How to Make a Duvet Cover with Zipper
For a modern, minimalist finish, a zipper works beautifully.
Steps:
-
After sewing three sides, fold in and press a 1” seam on the open end. This ensures the zipper lays flat and adds a neat finish.
-
Pin the zipper in place, teeth facing inward. Make sure it’s centered and aligned with the fabric edges for smooth operation.
-
Stitch along both sides of the zipper. Sew slowly and steadily to maintain straight lines and avoid catching the zipper teeth.
-
Zip it closed and flip the cover right-side out. Give it a gentle press with an iron for a professional, crisp look that enhances the final result.
Zippers are ideal for quick changes and offer a sleek appearance.
Choosing the Best Fabric for Your DIY Duvet Cover
| Fabric Type | Feel | Durability | Best For |
|---|---|---|---|
| Cotton | Soft & breathable | High | Everyday use |
| Linen | Textured & cool | Medium | Summer months |
| Flannel | Warm & cozy | High | Winter bedding |
| Bamboo blends | Silky & hypoallergenic | High | Allergy-prone sleepers |
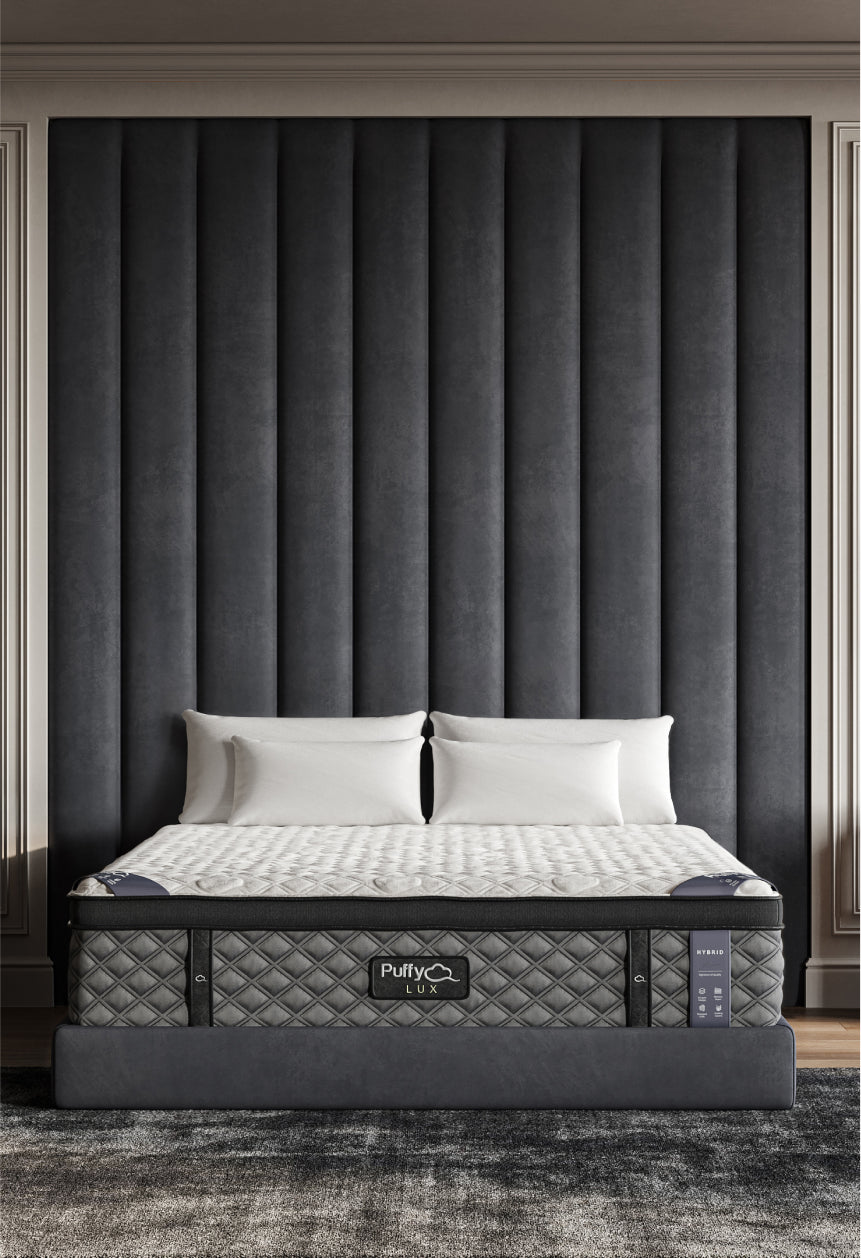
Pair your handmade duvet with a Puffy Lux Mattress to complete the experience—its plush surface and breathable materials help maintain that crisp, fresh-bed feeling night after night.
Final Touches: Customization Tips
-
Add piping or trim around the edges to define structure and introduce pops of contrast or elegance.
-
Use iron-on appliqués or stencils for decoration, letting you add patterns or motifs without complicated stitching.
-
Monogram it for a personal flair, especially useful for gifting or giving shared beds a special touch.
-
Play with color-blocking using different fabrics to create a two-tone or patchwork look that matches your decor.
-
Incorporate fabric paint or embroidery to express your own creativity through textures and visuals.
These creative touches can make your DIY piece feel like a boutique item while turning a basic project into a cherished favorite.
Conclusion
Learning how to make a duvet cover isn’t just about saving money—it’s about bringing creativity and personality into your bedroom.
Whether you’re a pro with a sewing machine or prefer a no-sew option, there’s a method here for everyone.
You’ll love the convenience, flexibility, and satisfaction that come from making something useful with your own two hands.
And once you’ve made one, don’t be surprised if the rest of the family starts placing custom requests!

![]() $1,350 in savings
$1,350 in savings
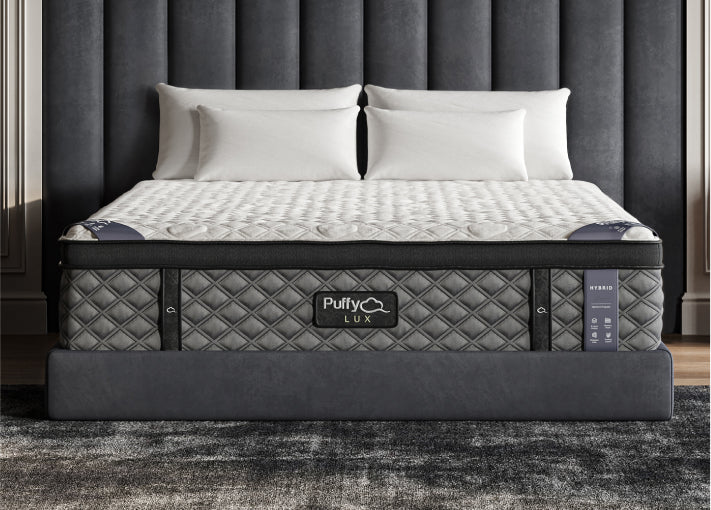
Transform your comfort with the Puffy Lux.
Relax into award-winning comfort with this hybrid mattress:
- 8 layers of cloudlike luxury.
- Medium-plush feel.
- Gel-infused cooling.
- 101-night sleep trial.