


Key Takeaways
- A DIY tooth fairy pillow provides a fun and creative way to store lost teeth while making the tooth fairy tradition even more magical.
- Handmade pillows can be customized with colors, pockets, and designs that reflect your child’s personality.
- Simple materials and sewing techniques make this a beginner-friendly project that can be completed in under an hour.
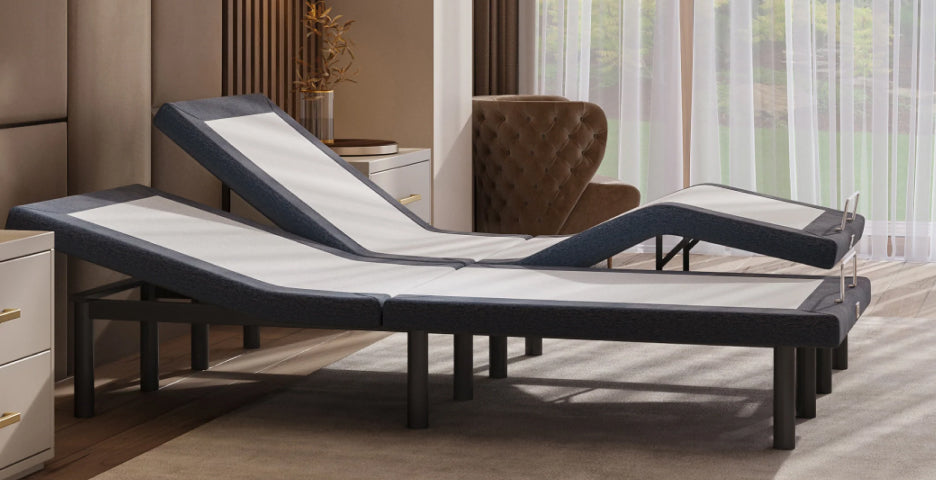
- Incorporating a soft, high-quality mattress can make bedtime even cozier and more inviting for kids.
Creating a DIY tooth fairy pillow is a fun and memorable project that enhances the excitement of losing a tooth.
Instead of placing a tooth under the pillow where it can get lost, a small dedicated pillow makes the exchange easier and more special.
This guide will walk you through making your own tooth fairy pillow with easy-to-follow steps and creative ideas.
How to Make a Tooth Fairy Pillow
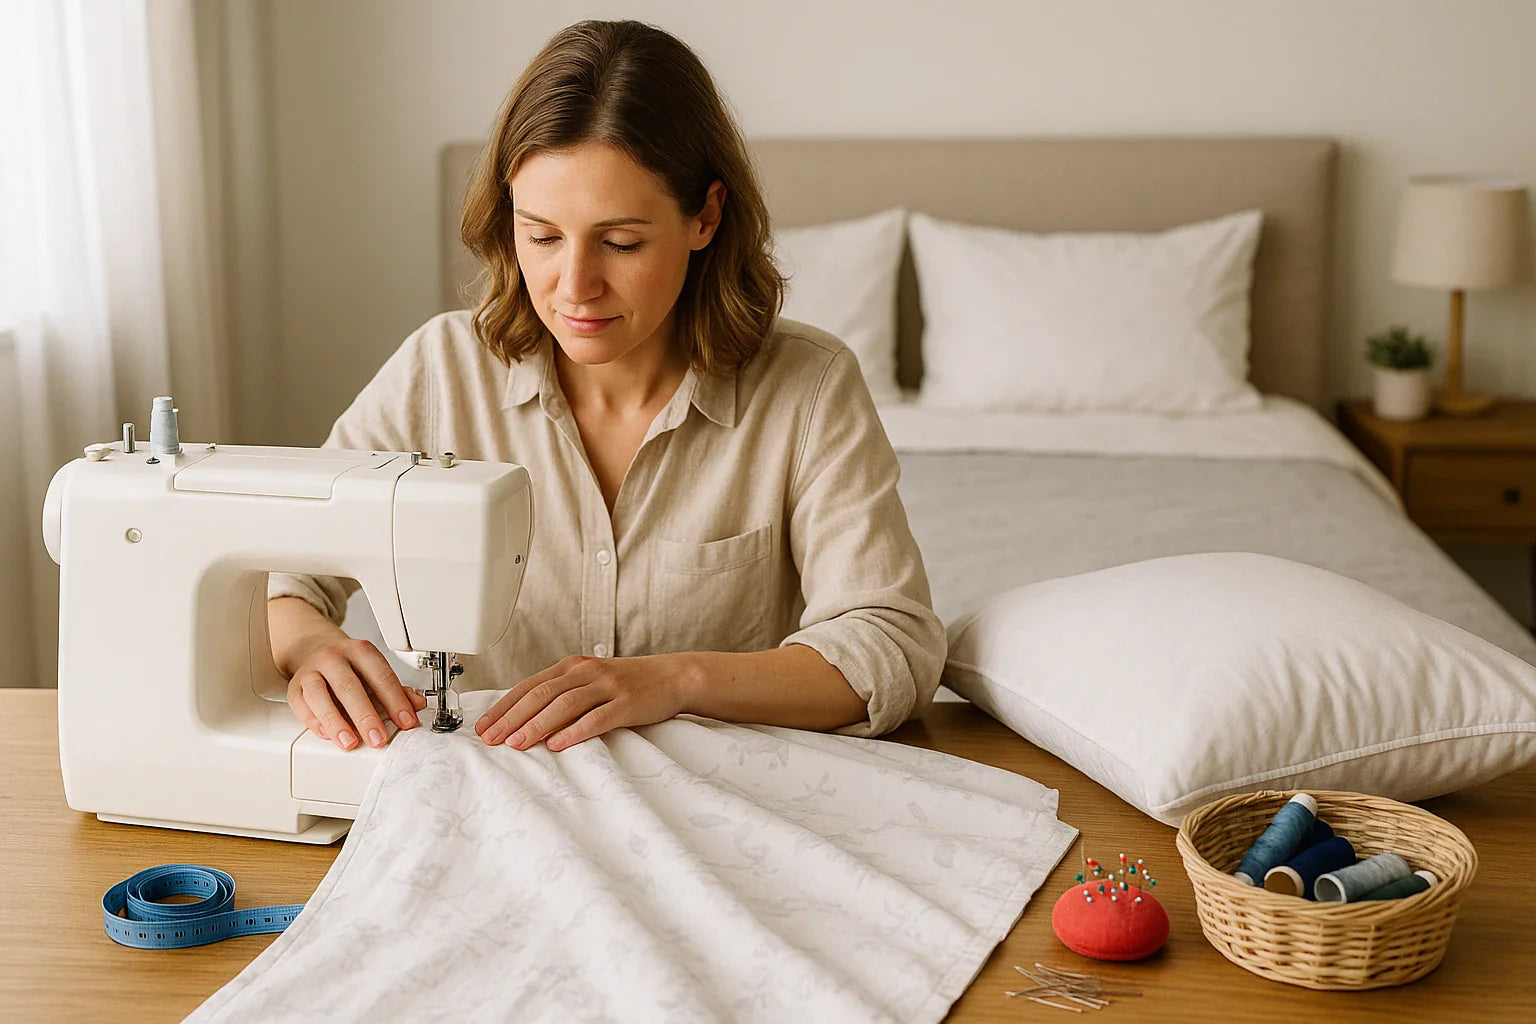
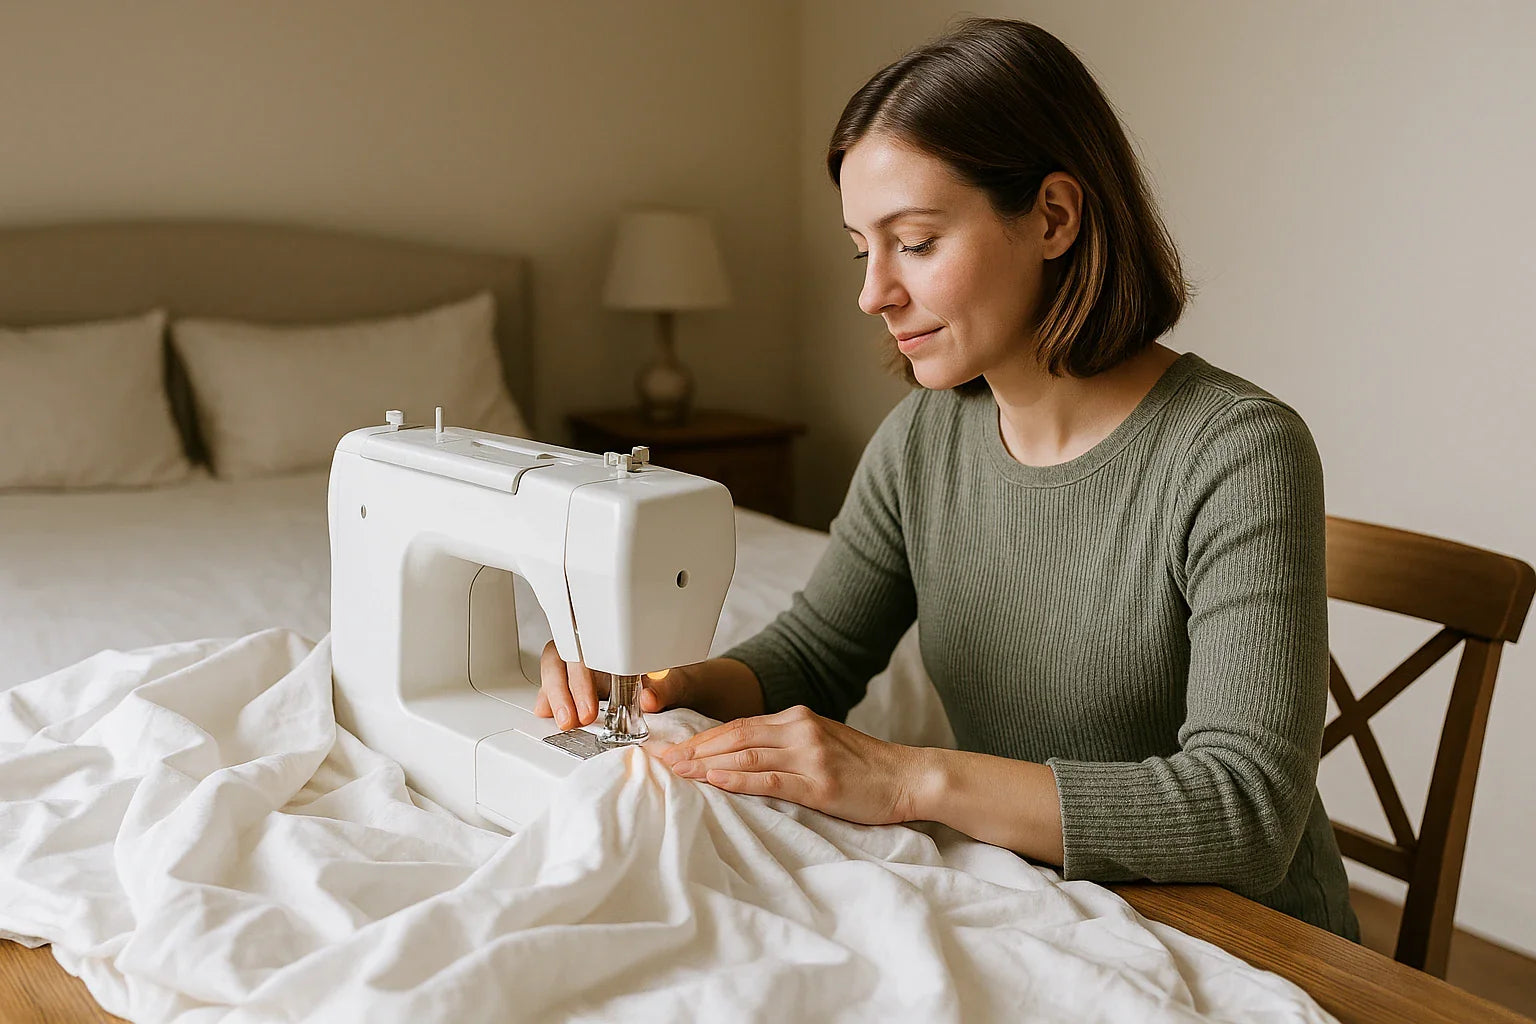
Making a tooth fairy pillow is a simple project that requires just a few materials and basic sewing skills.
Materials Needed:
-
Fabric of your choice (cotton, fleece, or felt works well)
-
Matching thread
-
Scissors
-
Sewing machine or needle for hand sewing
-
Fiberfill stuffing
-
Ribbon (optional for hanging pillow)
-
Fabric glue or iron-on adhesive (optional for no-sew version)
-
Embellishments such as buttons, embroidery, or felt shapes
Step-by-Step Instructions
-
Cut the Fabric: Cut two pieces of fabric into the desired shape, such as a square, rectangle, or tooth shape.
-
Create a Pocket: Cut an additional small square of fabric to sew or glue onto the front, making a pocket for the tooth and reward.
-
Decorate the Pillow: Add embroidered names, felt embellishments, or other fun decorations to personalize the pillow.
-
Sew the Edges: Place the two fabric pieces together, right sides facing, and sew around the edges, leaving a small opening.
-
Stuff the Pillow: Fill the pillow with fiberfill until it reaches your desired fluffiness.
-
Seal the Opening: Stitch or glue the opening closed securely.
-
Attach a Hanging Ribbon: If desired, sew or glue a looped ribbon to the top for easy hanging.
Tooth Fairy Pillow Ideas
There are endless ways to design and customize a tooth fairy pillow to match your child’s personality.
Creative Designs:
-
Classic Tooth Shape: A pillow shaped like a tooth with a small pocket for the lost tooth, making it a fun and easy-to-recognize design.
-
Animal-Themed Pillow: Create a pillow that looks like your child’s favorite animal, adding ears, eyes, or tails for extra charm.
-
Glow-in-the-Dark Pillow: Use glow-in-the-dark fabric paint or thread to make the pillow magical at night, adding excitement to bedtime.
-
Fairy Castle Pillow: Design a castle-shaped pillow with embroidered details or fabric prints to add an enchanting touch to the tradition.
No-Sew Tooth Fairy Pillow
If you don’t want to sew, you can still make a great pillow using fabric glue or iron-on adhesive for a sturdy and lasting result.
-
Cut two fabric shapes and a pocket piece in a fun and engaging design.
-
Use fabric glue to attach the pocket to the front, ensuring it is secure enough to hold small treasures.
-
Apply glue around the edges, leaving a small opening for stuffing to keep it fluffy and comfortable.
-
Stuff the pillow with fiberfill until it reaches the perfect level of softness and shape.
-
Seal the opening with glue and press firmly to ensure a strong bond that lasts.
-
Let it dry completely before use to prevent any adhesive mishaps and ensure durability.
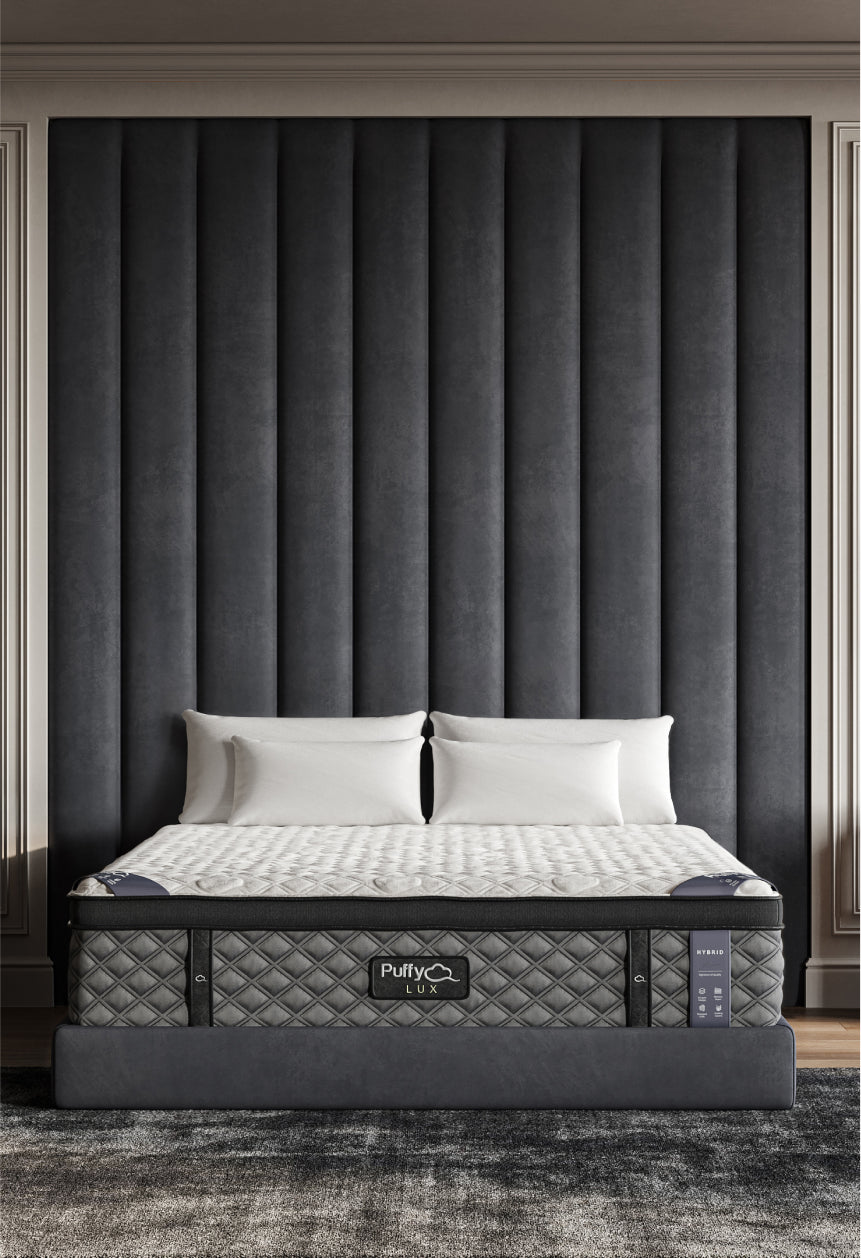
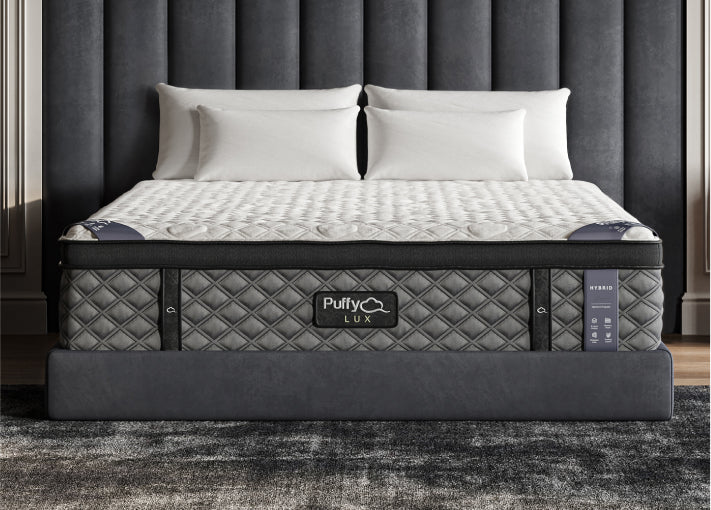
Pairing a comfortable pillow with a Puffy Lux Mattress can enhance your child’s sleep experience, ensuring they wake up refreshed for their magical tooth fairy visit.
Tips for Making the Perfect Tooth Fairy Pillow
-
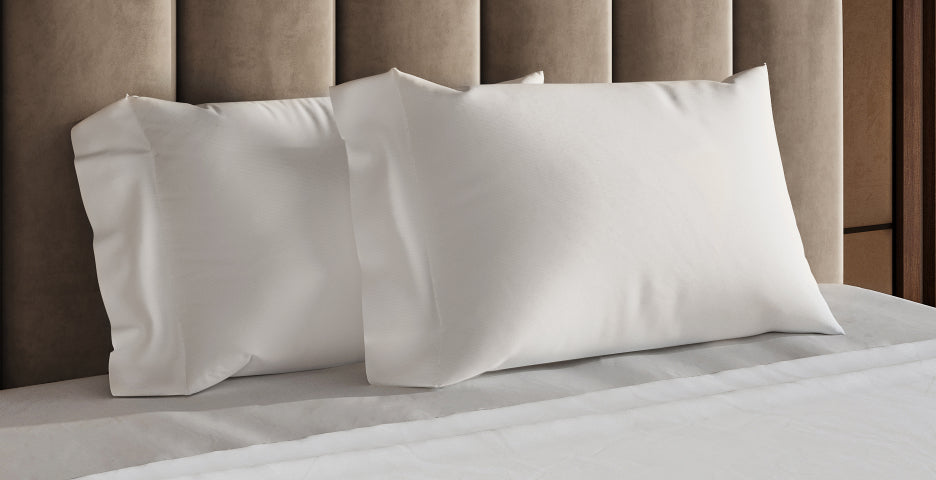
Choose Soft Fabric: Pick a material that feels comfortable against the skin and is easy to clean.
-
Make the Pocket Secure: Ensure the pocket is deep enough to hold the tooth and reward securely, so nothing gets lost overnight.
-
Keep It Compact: A smaller pillow is easier for little hands to handle and tuck under their main pillow without disruption.
-
Add Personalization: Embroidering a name, initials, or favorite character can make the pillow unique and special.
-
Ensure Durability: Use strong stitching or glue to prevent wear and tear over time, making the pillow a keepsake for years to come.
Conclusion
Making a DIY tooth fairy pillow is a simple yet magical way to celebrate childhood milestones.
Whether sewn by hand or glued together, this keepsake adds excitement to losing a tooth and makes the tradition more memorable.
By adding creative touches and personal details, you can craft a pillow your child will cherish for years to come.

![]() $1,350 in savings
$1,350 in savings
Transform your comfort with the Puffy Lux.
Relax into award-winning comfort with this hybrid mattress:
- 8 layers of cloudlike luxury.
- Medium-plush feel.
- Gel-infused cooling.
- 101-night sleep trial.