In the realm of outdoor adventures, a good sleeping bag is your cocoon of comfort against the elements. For those who love a touch of personalization or have specific needs, crafting a DIY sleeping bag can be a rewarding project.
Not only does it allow you to tailor the sleeping bag to your preferences, but it also offers an opportunity to imbue your gear with a bit of home comfort.
Why DIY: The Benefits of Making Your Own Sleeping Bag
- Personalization: Tailor every aspect, from the fit to the insulation level, to match your unique camping style.
- Cost-Effectiveness: Potentially lower the cost compared to high-end sleeping bags, especially if you source materials wisely.
- Skill Development: Improve your sewing and design skills, adding a rewarding sense of accomplishment to your outdoor preparations.
Check out Puffy mattress reviews from real customers and see how we compare with other brands.
How to Make a Sleeping Bag
Creating your own sleeping bag is a project that combines the joys of crafting with the practical benefits of having outdoor gear tailored exactly to your needs. Here’s a detailed guide on how to make a sleeping bag, covering material selection, design considerations, and the step-by-step process.
Choosing the Right Materials
The first step in making your sleeping bag is selecting the appropriate materials, which will directly impact its warmth, weight, and comfort.
- Insulation: The key to a warm sleeping bag is its insulation. Down is lightweight, compressible, and offers excellent warmth for its weight, but it can be expensive and loses insulating power when wet. Synthetic insulation is more affordable, retains warmth when damp, and is hypoallergenic, but it’s bulkier and heavier than down.
- Outer Fabric: Look for durable, lightweight materials that can resist wear and tear. Nylon and polyester are common choices, with ripstop varieties offering extra durability. Consider water-resistant or waterproof treatments to protect against moisture.
- Lining Fabric: The lining should be comfortable against the skin. Lightweight nylon or polyester with a soft finish can add to the comfort level. Some prefer natural fibers like cotton for the lining, but remember, these can add weight and don’t dry as quickly as synthetics.
Designing Your Sleeping Bag
- Shape and Size: Decide on the shape of your sleeping bag. Mummy bags are tapered for efficiency in warmth and weight, while rectangular bags offer more space and comfort. Consider your height and shoulder width to ensure a good fit.
- Temperature Rating: Plan your sleeping bag around the lowest temperatures you expect to encounter. This will determine the thickness of your insulation and the type of materials you need to use.
Step-by-Step Construction Process
-
Cutting Fabric to Size: Based on your design, cut the outer shell, insulation, and lining fabric. Remember to add seam allowances and consider the loft of your insulation when determining the dimensions.
-
Layering and Quilting: Layer your materials starting with the outer fabric, then the insulation, and finally the lining fabric. Quilting the layers together in some areas can prevent the insulation from shifting. For synthetic insulation, sewing through all layers may work, but for down, creating baffles is necessary to keep it in place.
-
Sewing the Edges: Sew the long sides of your sleeping bag, leaving the bottom edge open if you’re making a mummy bag, to later add a footbox. For a rectangular bag, you may sew all sides but leave an opening for getting in and out.
-
Adding the Zipper: Sew a zipper along the opening edge of your sleeping bag. Ensure the zipper is long enough for easy entry and exit. Consider adding a draft tube along the zipper line to prevent heat loss.
-
Creating a Footbox: For mummy bags, the bottom will need to be sewn into a footbox. This can be done by tapering the edges and sewing them closed, adding extra insulation around the foot area for warmth.
-
Final Touches: Add any final touches like a drawstring at the top for mummy bags, a collar around the neck area, or internal pockets for personal items.
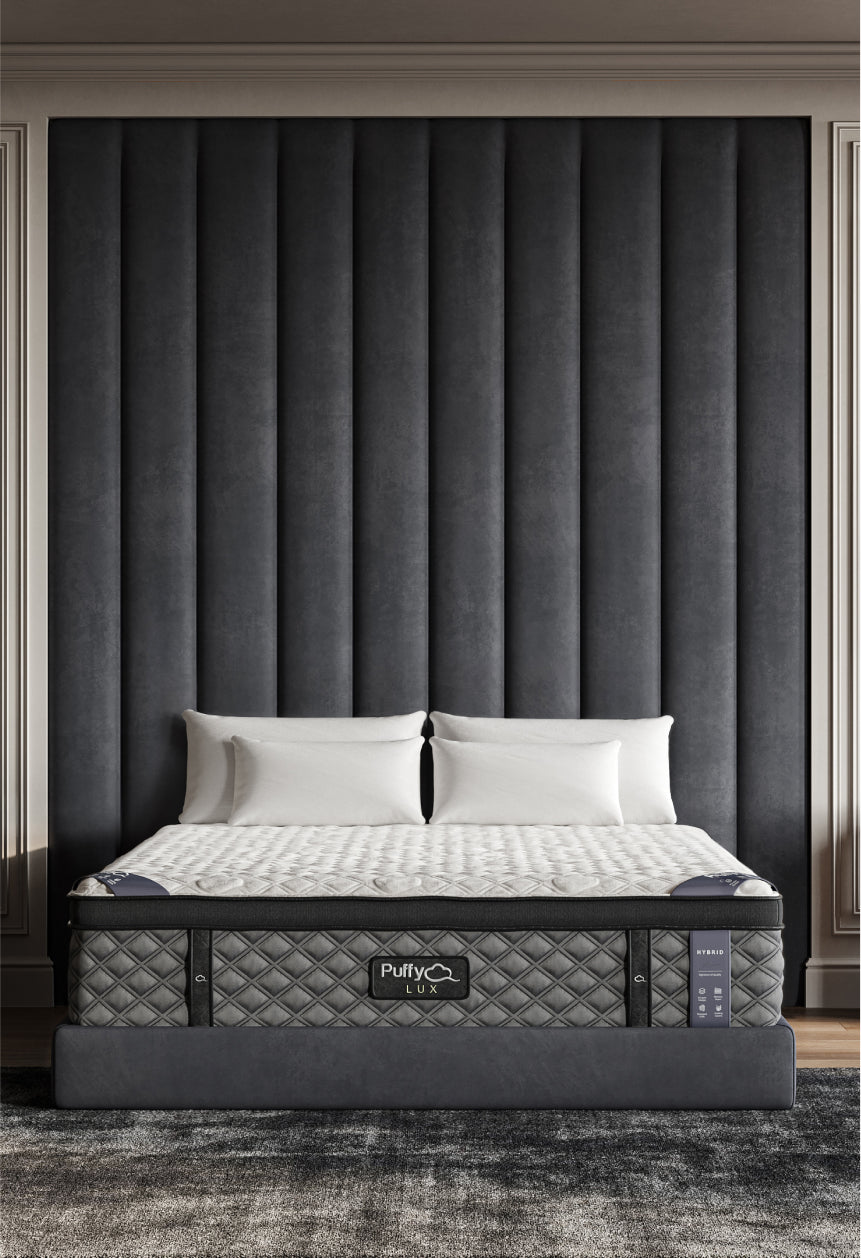
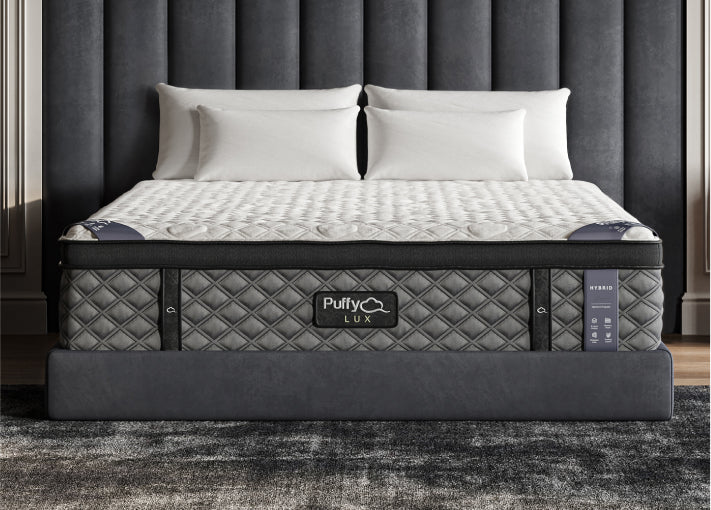
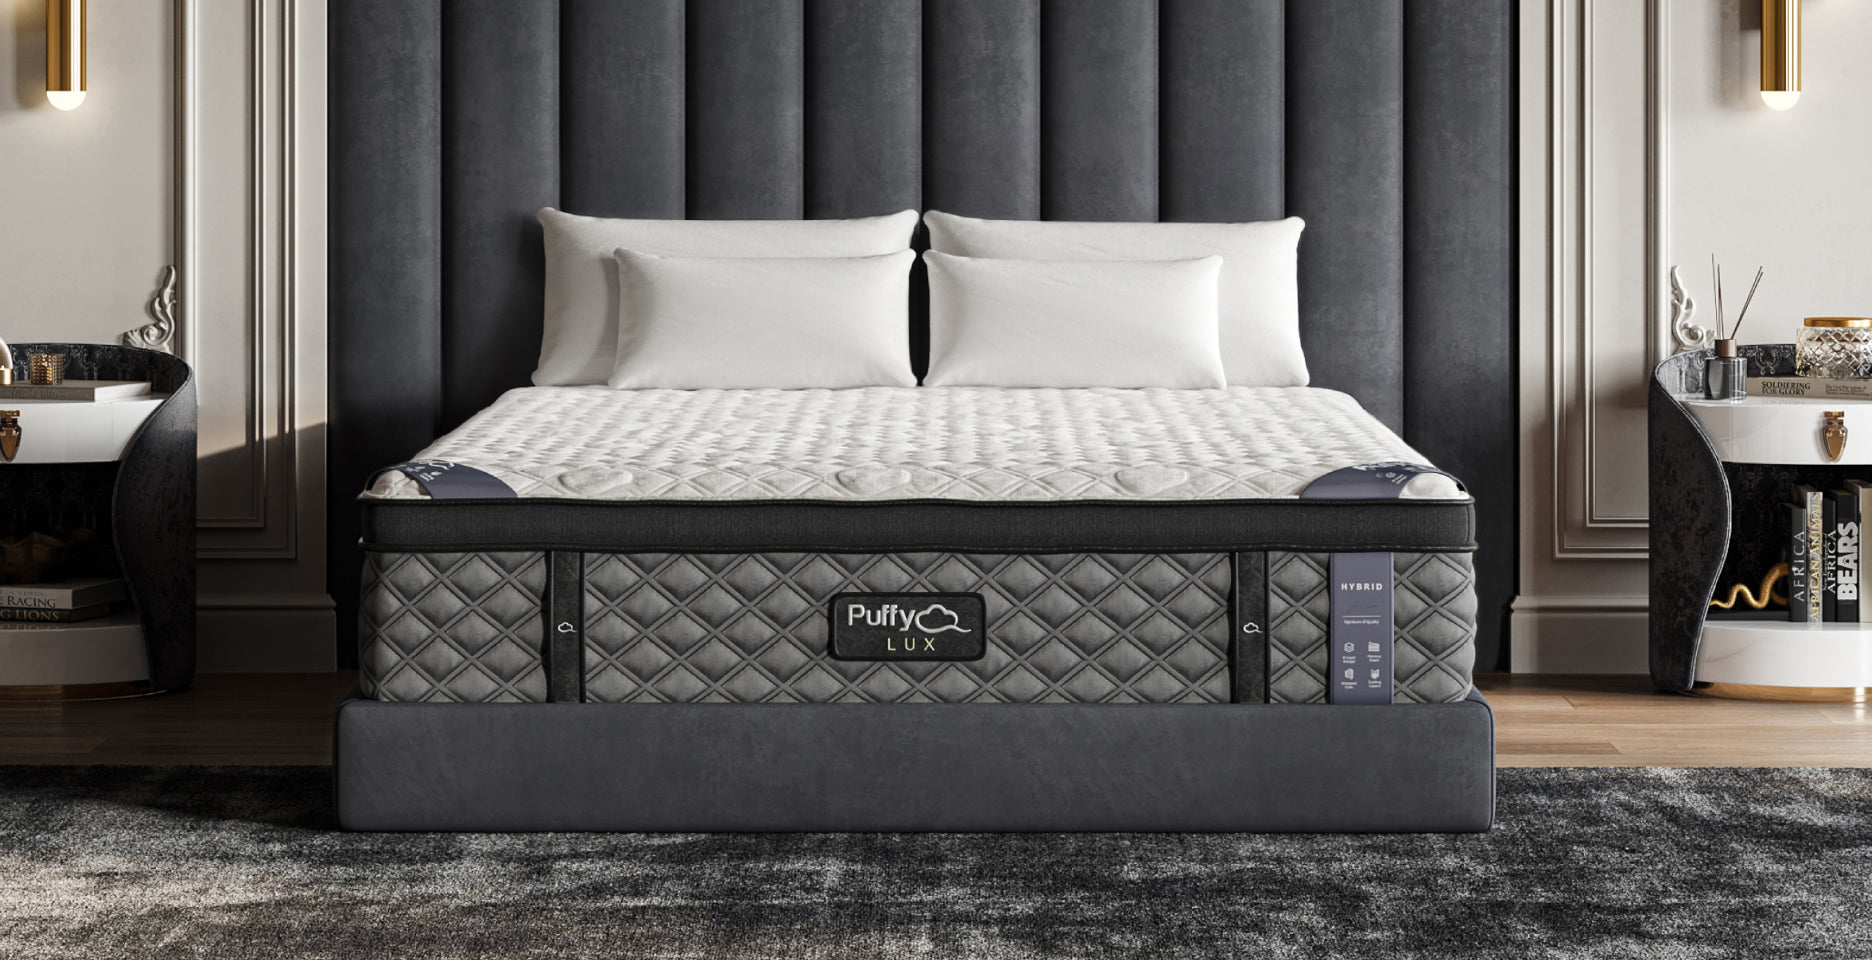
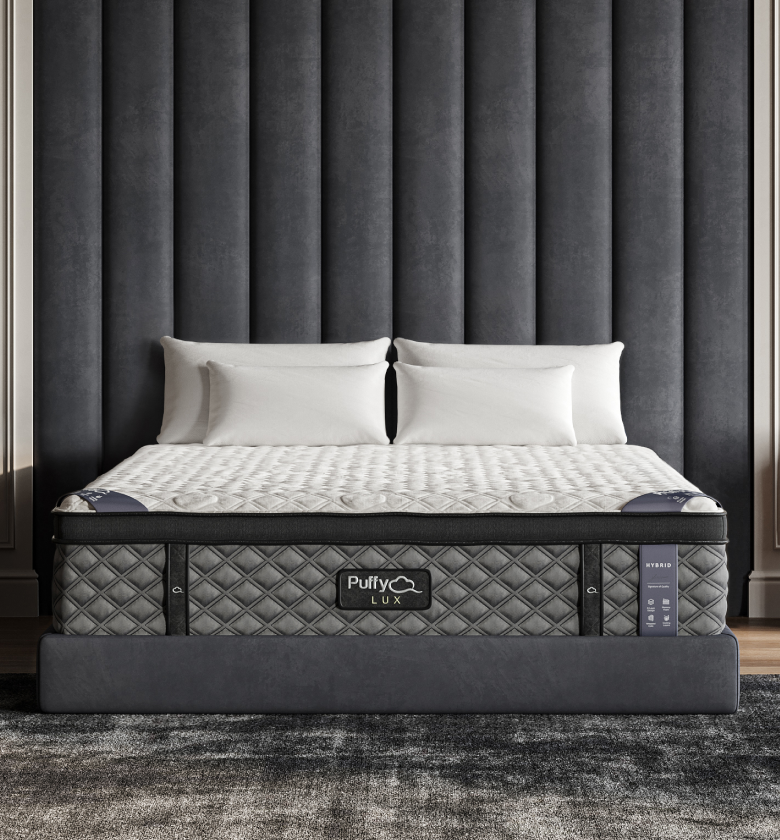
Crafting a DIY sleeping bag allows for a level of customization and personal touch not always available in off-the-shelf options, akin to the tailored comfort and support provided by a Puffy Lux Mattress.
Use our store locator to find the closest furniture or mattress store near you and feel the cloudlike comfort of our Puffy Mattress in person.
Conclusion
Creating a DIY sleeping bag is an ambitious project that offers numerous rewards, from the satisfaction of crafting your gear to enjoying a piece that’s perfectly adjusted to your needs.
With the right materials, a bit of patience, and attention to detail, you can construct a sleeping bag that not only keeps you warm but also carries a sense of pride and achievement into every camping trip.
$1,350 in savings
Transform your comfort with the Puffy Lux.
Relax into award-winning comfort with this hybrid mattress:
- 8 layers of cloudlike luxury.
- Medium-plush feel.
- Gel-infused cooling.
- 101-night sleep trial.
