


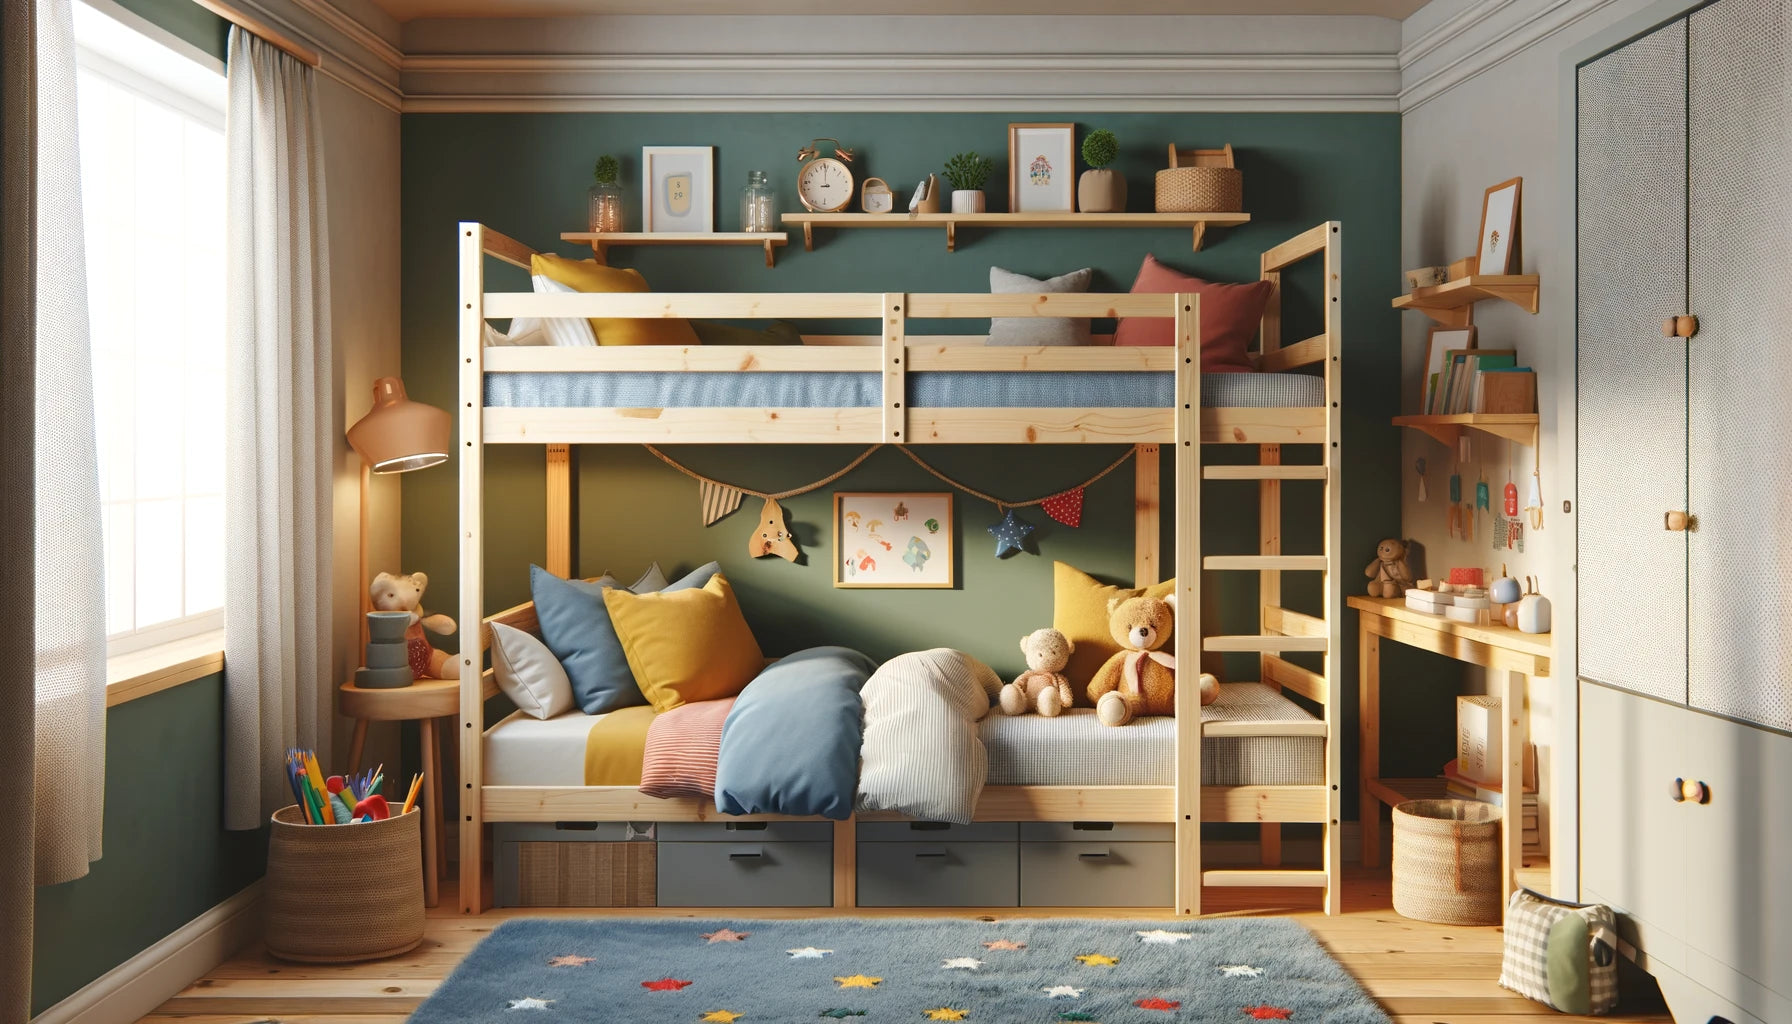
When it comes to furnishing your kids’ bedroom, a bunk bed is a smart choice that maximizes space while providing a fun and cozy sleeping setup. However, store-bought bunk beds can be limited in terms of size options and design.
By building your own DIY bunk bed frame, you have complete control over the dimensions, style, and features to create a one-of-a-kind bed your children will adore.
I recently built a custom bunk bed for my kids’ room and it turned out even better than I imagined. Using high-quality lumber and hardware, I was able to construct an incredibly sturdy frame with added safety features for my peace of mind.
Tools and Materials for a Top-Notch DIY Bunk Bed Frame
For a premium twin-over-twin bunk bed, use these high-quality supplies:
- Measuring tape & carpentry pencil
- High-precision circular or miter saw
- Professional-grade drill and bits
- Orbital sander and fine-grit sandpaper
- Premium 2.5" and 3" wood screws
- High-strength wood glue
- 4 8-foot 2x4s (select straight, unblemished boards)
- 6 8-foot 1x4s (knot-free hardwood recommended)
- 4 8-foot 1x6s (knot-free hardwood recommended)
- 2 4x8 sheets of ¾" furniture-grade plywood
- High-end wood stain or paint for a polished finish
Step-by-Step Guide: Constructing a Safe, Sturdy Bunk Bed Frame
- Measure and cut the frame pieces: Begin by carefully measuring and cutting the 2x4 boards for the main frame components using a high-precision circular or miter saw. You’ll need four 80" pieces for the posts, four 75" pieces for the rails, and two 36" pieces for the ladder rungs. Take your time to ensure each cut is straight and exact. Use a carpenter’s square to mark your cut lines and consider using a jig for consistently precise cuts.
- Prepare the guardrails and ladder sides: For the guardrails and ladder sides, use premium knot-free 1x6 hardwood boards for strength and beauty. Cut two 75" pieces for the guardrails and two 80" pieces for the ladder sides. Carefully measure and mark out notches on the ladder side pieces to accommodate the ladder rungs. Use a jigsaw or router to cut out the notches, sanding them smooth.
- Assemble the ladder: Apply a bead of high-strength wood glue to the notches on the ladder sides and fit the 1x4 hardwood ladder rungs securely into place. Clamp the pieces tightly together, then pre-drill pilot holes and drive 2.5" wood screws through the sides into the ends of each rung for a rock-solid bond. Wipe away any excess glue and let dry according to the manufacturer’s instructions.
- Construct the bunk frames: Create the rectangular frames for each bunk level using the cut 2x4 posts and rails. Arrange the pieces on a flat surface, using a large carpenter’s square to ensure each corner is exactly 90 degrees. Apply wood glue to the end grain of the rail pieces, then secure them between the posts using 3" wood screws driven through pilot holes. For added strength, consider using metal brackets or lag bolts at the corners.
- Add support rails: For each bunk frame, measure and cut 1x4 hardwood boards to fit snugly between the posts along the long sides, positioned 5" down from the top edge. These rails will support the plywood platform. Glue the rails in place and secure them by pre-drilling and screwing through the posts into the ends of the rails with 2.5" wood screws.
- Cut and attach the plywood platforms: Using the interior dimensions of each bunk frame, carefully measure and cut 3/4" furniture-grade plywood to create a platform for each mattress. The platform should fit securely within the frame, resting on the 1x4 support rails. Secure the plywood to the support rails by drilling pilot holes and driving 1.5" wood screws upward through the rails into the plywood every 6-8 inches.
- Connect the bunk frames and guardrails: With the help of a partner, stand the two bunk frames upright and parallel to each other. Position the 1x6 hardwood guardrails between the posts at the desired height, ensuring they are level. Apply wood glue to the ends of the guardrails and clamp them firmly in place. Pre-drill pilot holes, then secure the guardrails to the posts using 3" wood screws driven through the posts into the guardrail ends.
- Attach the ladder: Position the completed ladder assembly at one end of the bunk bed, with the top of the ladder flush against the top guardrail. Ensure the ladder is plumb (vertically straight) and mark the contact points. Apply wood glue to the top of the ladder and clamp it securely to the guardrail. Pre-drill pilot holes and fasten the ladder to the guardrail with 3" wood screws for maximum stability.
- Sand and finish: Once the glue has fully dried, use an orbital sander with fine-grit sandpaper to smooth all surfaces of the bunk bed, paying extra attention to any joints or rough areas. Wipe away dust with a tack cloth, then apply your chosen high-quality wood stain or paint according to the product instructions. For a smooth, even finish, consider applying multiple thin coats, allowing ample drying time between each coat. For added durability, finish with a clear protective topcoat.
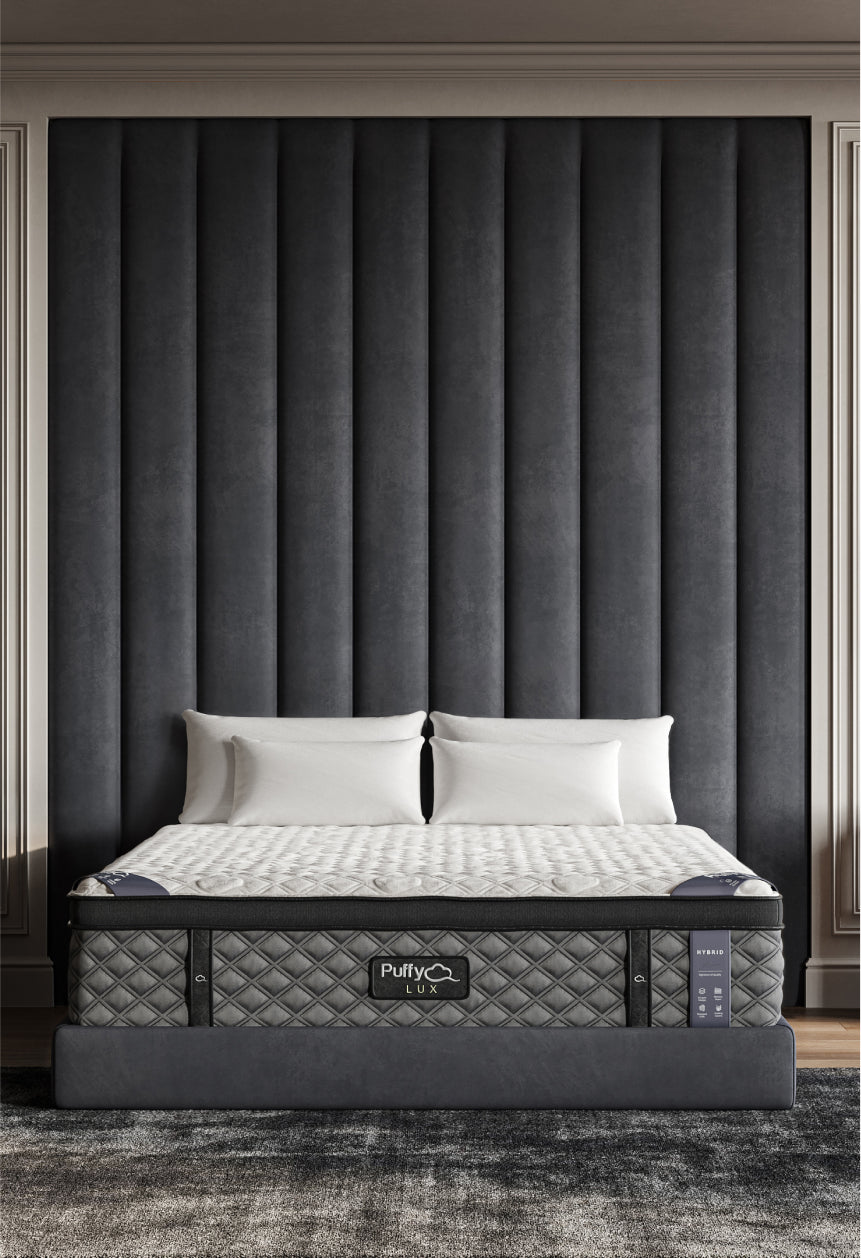
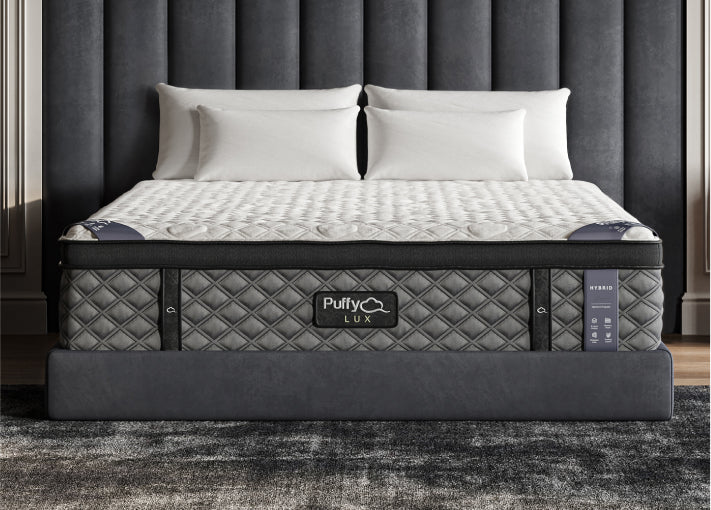
After a busy day of building your DIY bunk bed and wrangling energetic kids, you’ll appreciate having your own luxurious Puffy Lux Mattress to retreat to. As you sink into its supportive layers, you can let go of the day’s stresses and recharge for another round of parenting adventures tomorrow.
Check out Puffy mattress reviews from real customers and see how we compare with other brands.
Elevate Your Bunk Bed Design with These Customization Ideas
- Ensure a perfect fit by customizing dimensions for specialty mattress sizes
- Integrate a built-in staircase with drawers for easier access and added storage
- Extend stylish guardrails higher or around the full top bunk perimeter for extra safety
- Create a playtime oasis with a slide, climbing wall, or secret hideout beneath the bottom bunk
- Transform the bottom space into a study nook with a built-in desk for older children
I spent weeks carefully selecting the best materials, from the sturdy hardwood boards for the frame to the furniture-grade plywood for the platforms. Measuring twice and cutting once became my mantra as I worked through each step of the build, ensuring every component was precise and secure.
While your kids drift off to dreamland on their cozy new bunk bed, you can look forward to your own blissful sleep on a premium Puffy Lux Mattress. Its advanced cooling technology and pressure-relieving foam will help you stay comfortable all night, so you wake up refreshed and ready to tackle whatever parenting challenges come your way.
Use our store locator to find the closest furniture or mattress store near you and feel the cloudlike comfort of our Puffy Mattress in person.
Conclusion
Constructing a DIY bunk bed frame allows you to create a premium sleeping space tailored to your exact needs and preferences. With top-quality materials, precise construction, and attention to safety, you can build a bunk bed that will last for years while delighting your children. Involve your kids in the design process for a bed they’ll truly cherish.
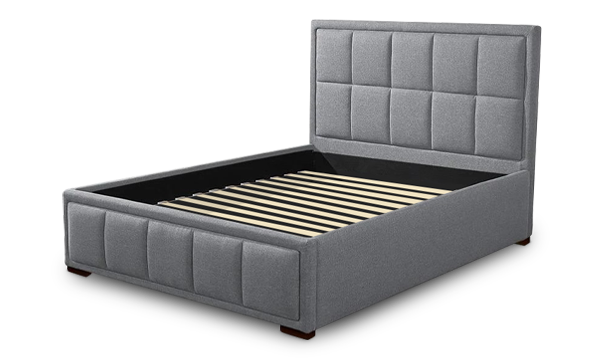
Enjoy unmatched comfort with the Puffy Sterling Bed Frame.
Upgrade your sleep setup with a stylish, supportive foundation:
- Premium stitching.
- Heavy-duty wooden frame.
- Lifetime warranty.
- 101-night sleep trial.
- Free shipping and returns.