As parents, we constantly seek ways to ensure our little ones are comfortable and safe, especially during their sleep. With a household bustling with kids and pets, finding simple, effective solutions for everyday needs is essential.
That’s where the idea of creating a DIY baby pillowcase sleeping bag comes into play a practical, personalized, and cost-effective way to keep your baby snug and secure.
Why Choose a DIY Baby Pillowcase Sleeping Bag?
- Personalization: Tailor the sleeping bag’s fabric, design, and size specifically to your baby’s needs and preferences.
- Cost-Effective: Utilize existing materials at home, saving money without compromising on quality.
- Safety and Comfort: Choose safe, soft materials ensuring your baby’s comfort throughout the night.
Interested in how Puffy stacks up against other brands? Check out our mattress comparisons: Puffy vs Purple, Puffy vs Nectar, Puffy vs Casper, Puffy vs Leesa, Puffy vs Saatva, Puffy vs DreamCloud, and Puffy vs Tuft and Needle.
How to Make a Baby Sleeping Bag
Materials Needed:
- Fabric: 1-2 yards of soft, breathable fabric depending on the desired size (cotton, fleece, or bamboo are great choices)
- Lining Fabric: 1-2 yards of lining material if a warmer bag is desired
- Insulation (optional): Lightweight batting for additional warmth
- Fasteners: Zipper, snaps, or Velcro, depending on preference
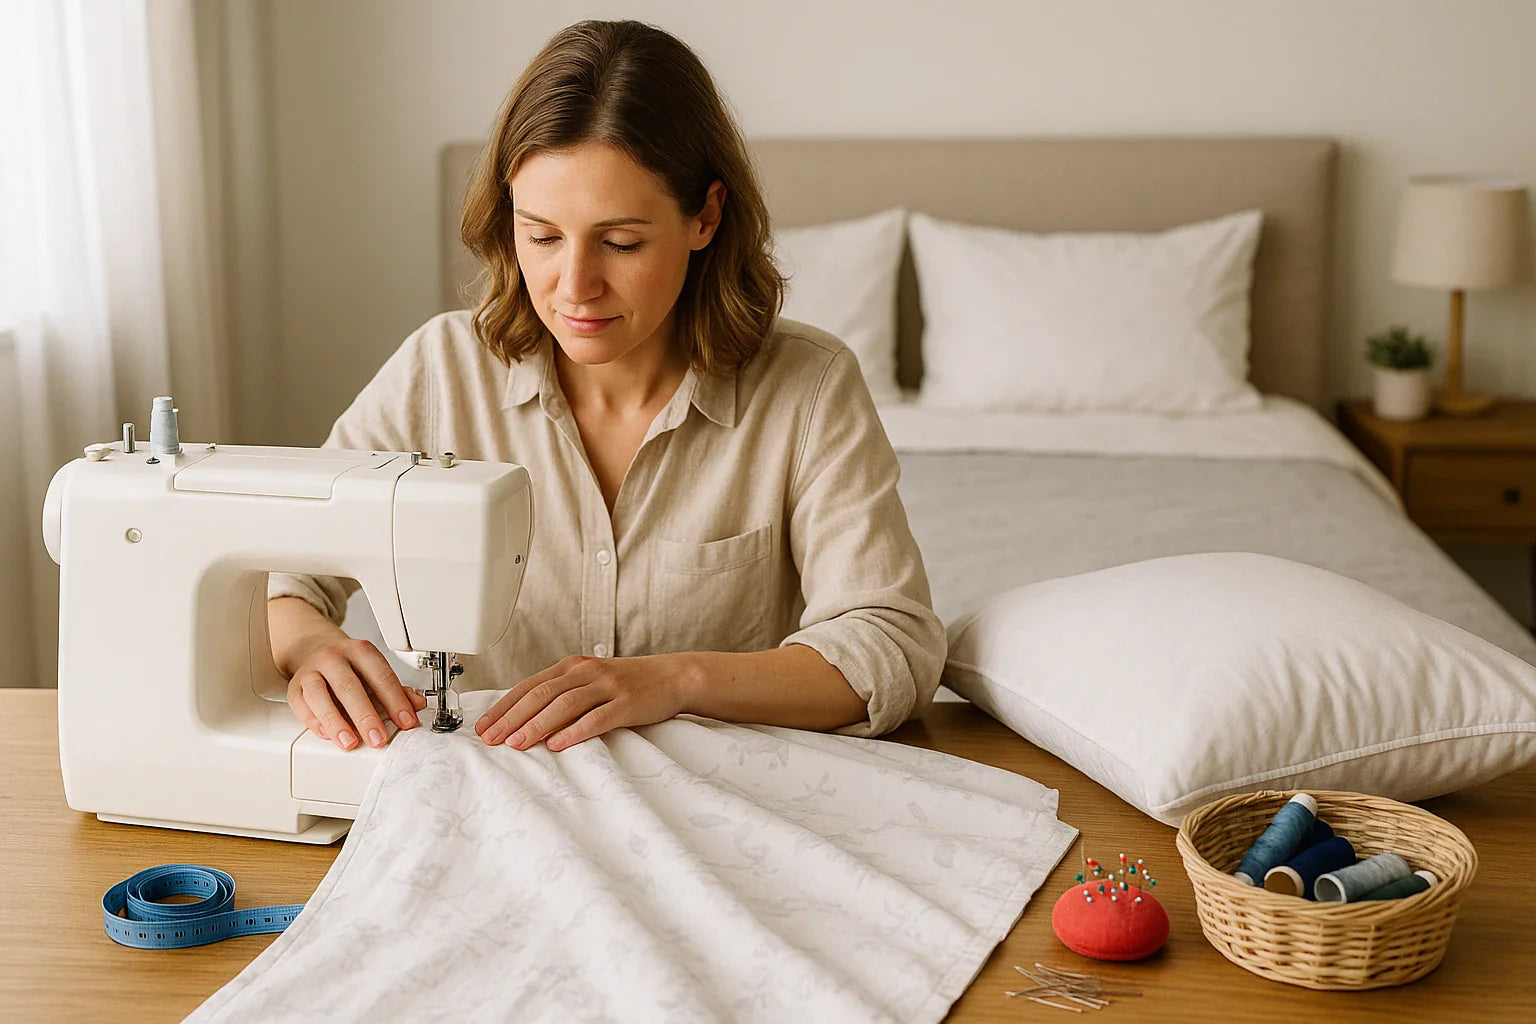
- Sewing Supplies: Thread, sewing machine (though hand-sewing is possible), scissors, measuring tape, pins
Step 1: Design and Planning
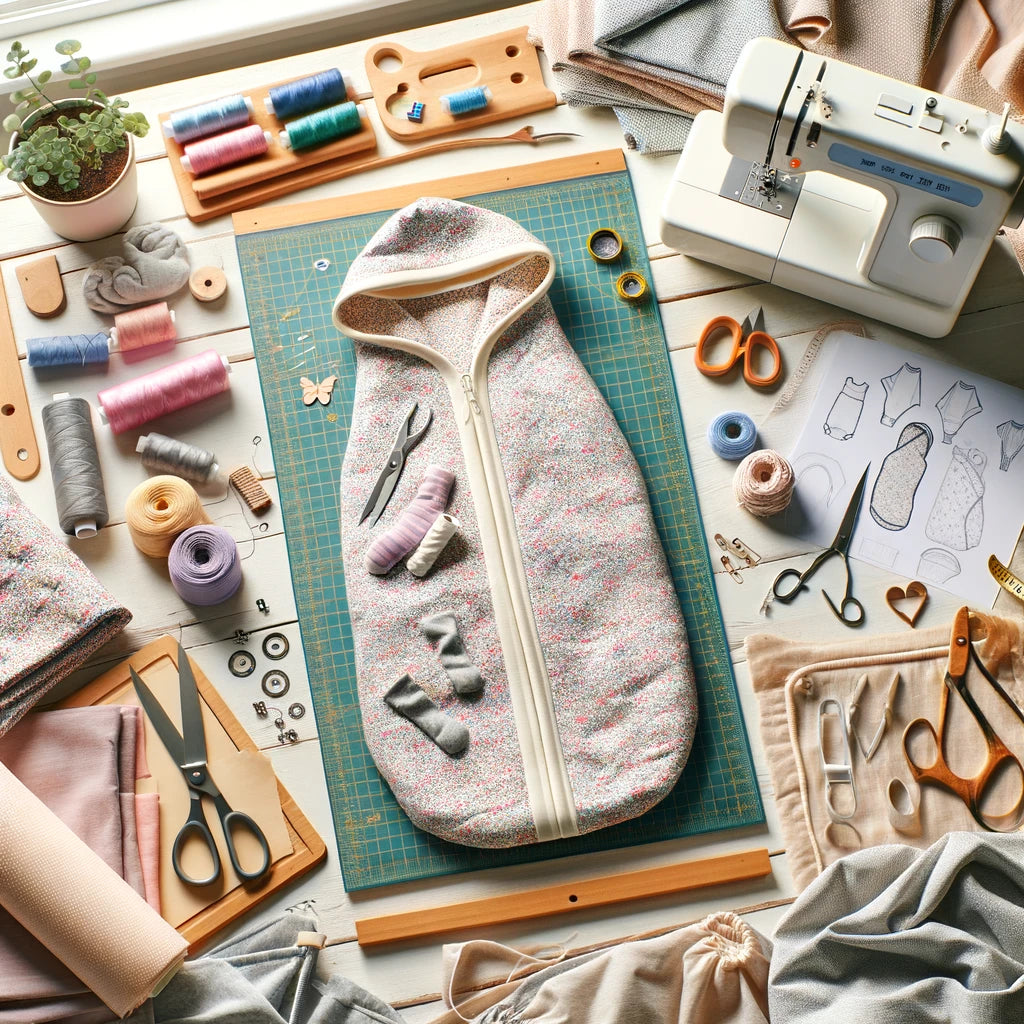
- Sketch Your Design: Consider the shape (standard rectangle, mummy shape for less space and more warmth), size (allow for growth), and any special features like a hood or pockets.
- Measure: Determine the length and width based on your baby’s size, adding extra for growth and movement. A standard size might be 30 inches by 16 inches for an infant.
Step 2: Cutting Your Fabric
- Cut Outer Fabric and Lining: Fold your fabric in half, with the interior sides facing each other, and cut according to your measurements. Repeat with the lining fabric if you’re using it.
- Cut Insulation: If adding batting for warmth, cut this slightly smaller than the fabric pieces to reduce bulk in the seams.
Step 3: Sewing Your Sleeping Bag
- Attach Insulation (Optional): Lay the batting on one of the wrong sides of the outer fabric or lining, and lightly stitch around the edges to hold it in place.
- Sew Outer and Lining Together: Place the outer fabric and lining right sides together, with the batting outside. Sew around the edges, leaving an opening at the bottom or side for turning it right side out.
- Add Fasteners: Sew in your chosen fasteners along the opening. For a zipper, place it between the layers of fabric before sewing. For snaps or Velcro, attach them after turning the sleeping bag right side out.
Step 4: Finishing Touches
- Turn Right Side Out: Through the opening left in the seam, gently turn the sleeping bag right side out. Make sure corners are fully extended.
- Top Stitch: For a finished look and to help keep the layers in place, top stitch around the edges of the sleeping bag.
- Add Features: Personalize with embroidery, appliqués, or decorative stitches.
Step 5: Safety and Comfort Check
- Inspect: Ensure there are no loose threads or sharp edges. Check the fasteners to make sure they’re secure and won’t pose a hazard.
- Wash and Dry: Before the first use, wash the sleeping bag according to the fabric’s requirements to ensure it’s clean and soft.
Check out Puffy mattress reviews from real customers and see how we compare with other brands.
DIY Baby Pillowcase Sleeping Bag: Step-by-Step Guide
1. Preparation and Planning:
- Material Selection: Begin by selecting a pillowcase. For newborns and infants, a standard pillowcase is usually sufficient. For toddlers, consider a king-sized pillowcase for additional space. Opt for materials that are soft to the touch, hypoallergenic, and breathable, such as cotton or bamboo fabric, to ensure your baby’s comfort.
- Design Consideration: Decide if you want to add any padding for extra warmth. This could be lightweight batting or even a thin layer of quilt material. Also, think about the type of closure that would be most practical and safe for your baby, such as zippers, snaps, or Velcro.
2. Measuring and Cutting:
- Size It Right: Lay the pillowcase flat on a work surface and measure the length needed based on your baby’s height. Add an extra 5-6 inches to the length for growth and the bottom seam. If you’re using padding, cut it to match these dimensions.
- Cutting Fabric: If the pillowcase needs to be shortened, mark the new length with pins or fabric chalk, and cut across the width, leaving room for a seam.
3. Sewing It Together:
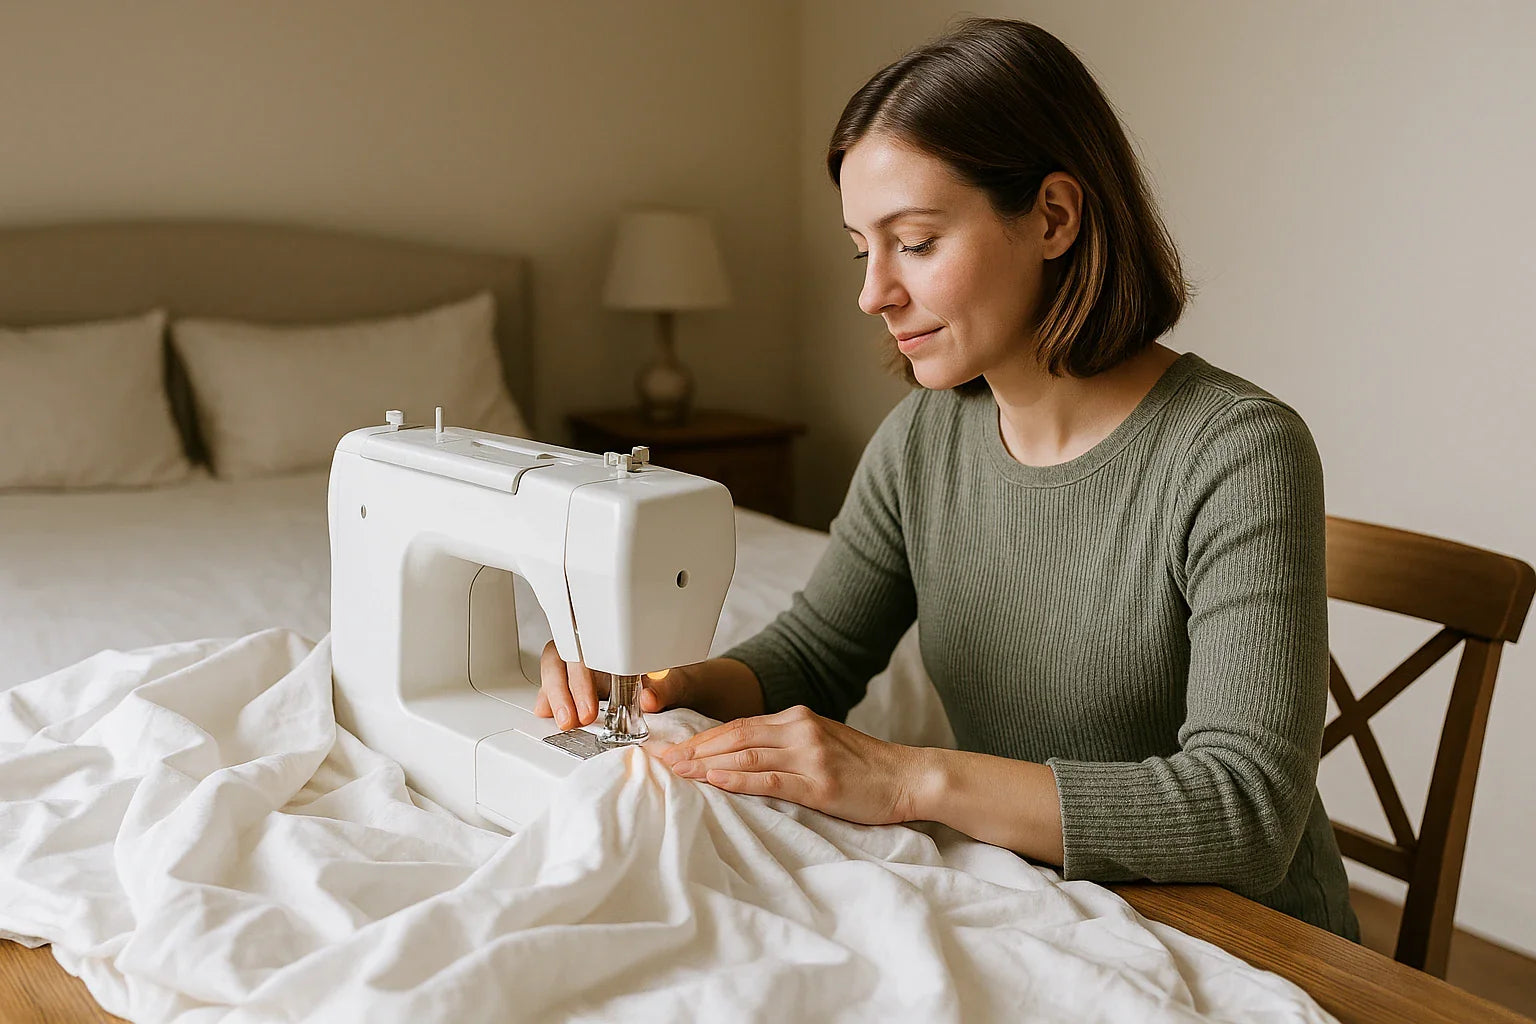
- Basic Sewing: If you’ve cut the pillowcase to adjust its size, fold over the cut edge to create a hem, pin it in place, and sew it down for a neat finish. For the bottom of the sleeping bag (where the baby’s feet will rest), ensure it’s securely sewn shut. If you’re working with an unaltered pillowcase, this step may already be done.
- Adding Padding (Optional): Place the padding inside the pillowcase, smoothing it out to avoid any wrinkles or bunching. Sew around the edges to attach it to the pillowcase, either by hand or with a sewing machine, making sure it’s flat and even.
4. Installing Fasteners:
-
Choose Your Fasteners: Depending on your preference, you can install a zipper, snaps, or Velcro along one of the long edges of the pillowcase. This will serve as the opening for placing your baby inside the sleeping bag.
- For zippers, pin the zipper face down along the edge of the fabric and sew it in place, making sure it opens and closes smoothly.
- For snaps or Velcro, evenly space them along the edge, ensuring they’re securely attached and don’t pose a choking hazard.
5. Finishing Touches:
- Decorative Elements: Personalize the sleeping bag with your baby’s name, some cute appliqués, or decorative stitches along the seams. This not only adds a unique touch but can also make the sleeping bag more visually stimulating for your baby.
- Final Inspection: Once completed, inspect the sleeping bag for any loose threads or potential hazards. Ensure the inside is smooth and comfortable, with no rough seams that could irritate your baby’s skin.
6. Washing and Care Instructions:
- Before the first use, wash the sleeping bag in gentle, baby-safe detergent. This ensures it’s clean, soft, and ready for your baby to snuggle into.
Creating a DIY baby sleeping bag allowed me to combine my love for crafting with my desire to provide the very best for my little one. Selecting materials that matched our nursery theme and adding personal touches like a little embroidered name tag made the project incredibly special.
It was not just about making a sleeping bag; it was about creating a cozy, safe space for my baby to rest, mirroring the comfort we cherish with our own bedding, like our Puffy Lux Mattress, which guarantees us a restful sleep every night.
Use our store locator to find the closest furniture or mattress store near you and feel the cloudlike comfort of our Puffy Mattress in person.
Conclusion
The journey of creating a DIY baby pillowcase sleeping bag is not just about crafting; it’s about infusing love and care into something that keeps your baby warm and comfortable.
This project offers the perfect blend of practicality, creativity, and personal touch, making it an ideal choice for parents looking to provide the best for their children in a thoughtful, economical way.
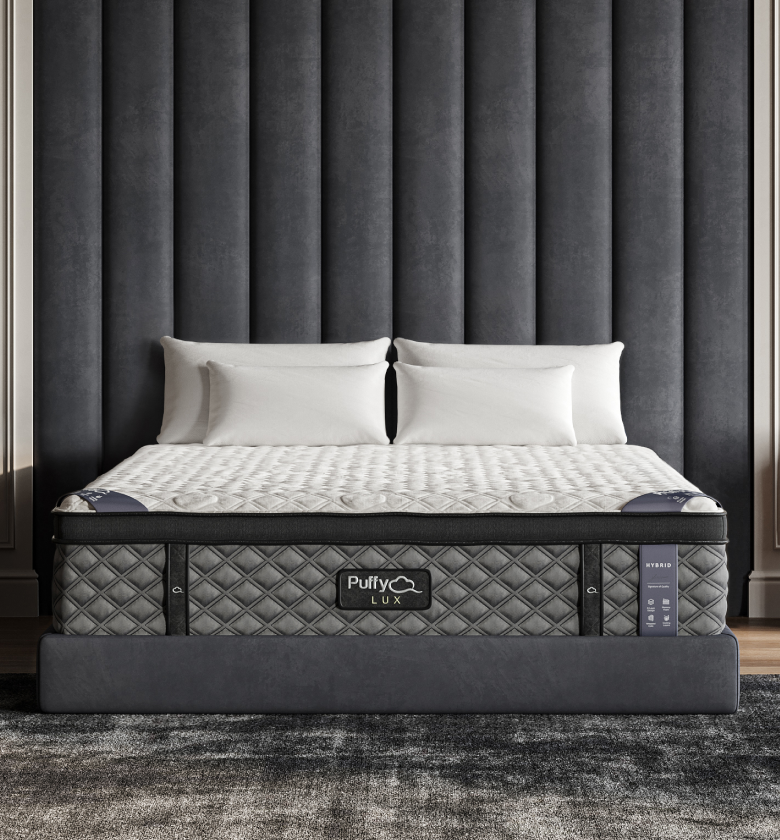
$1,350 in savings
Transform your comfort with the Puffy Lux.
Relax into award-winning comfort with this hybrid mattress:
- 8 layers of cloudlike luxury.
- Medium-plush feel.
- Gel-infused cooling.
- 101-night sleep trial.
